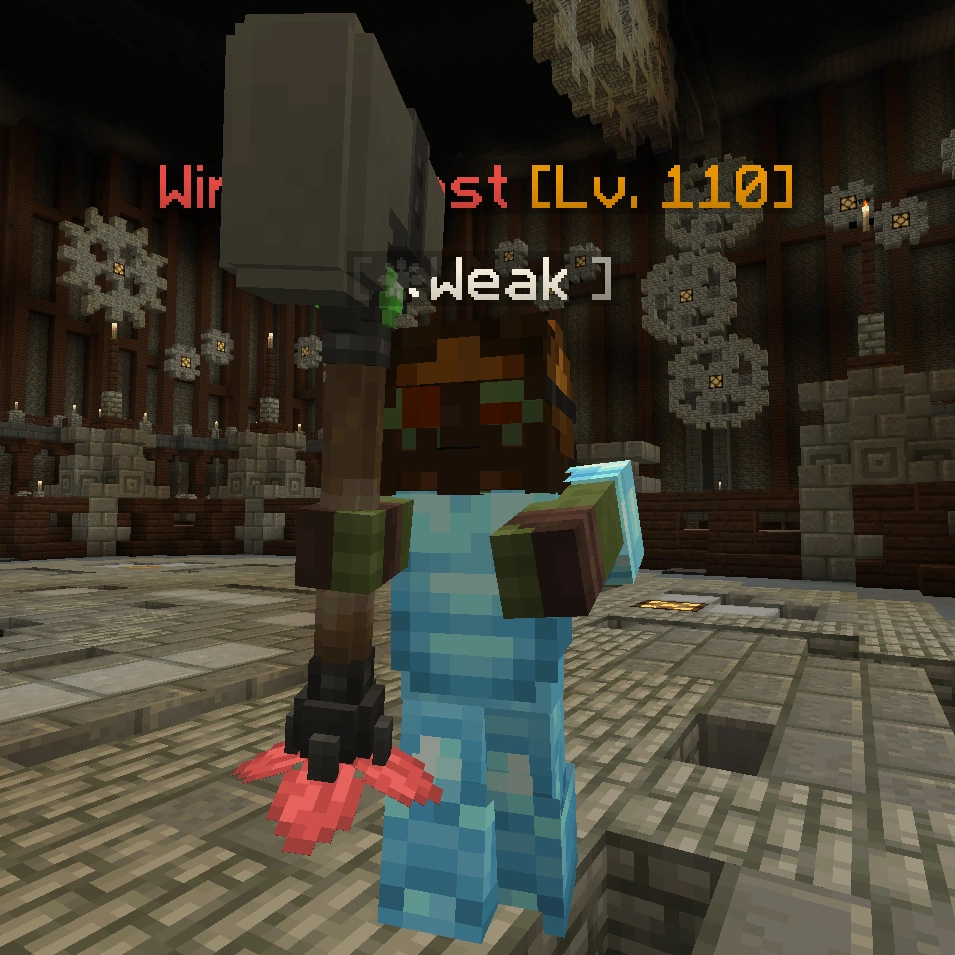
In the Legendary Challenge on the Legendary Island, you must face ten bosses in a row. The bosses of Legendary Island are mostly robot "reworks" of other bosses in Wynncraft, though the Legendary Island counterparts are often notably more difficult than the original bosses.
Most of the bosses have Crowd Control Immunity, also known as CCI. Mobs with CCI cannot be knocked back, slowed, stunned, trapped or any of the sort. They are also completely immune to Shaman's Uproot, and Archer's Arrow Shield spells.
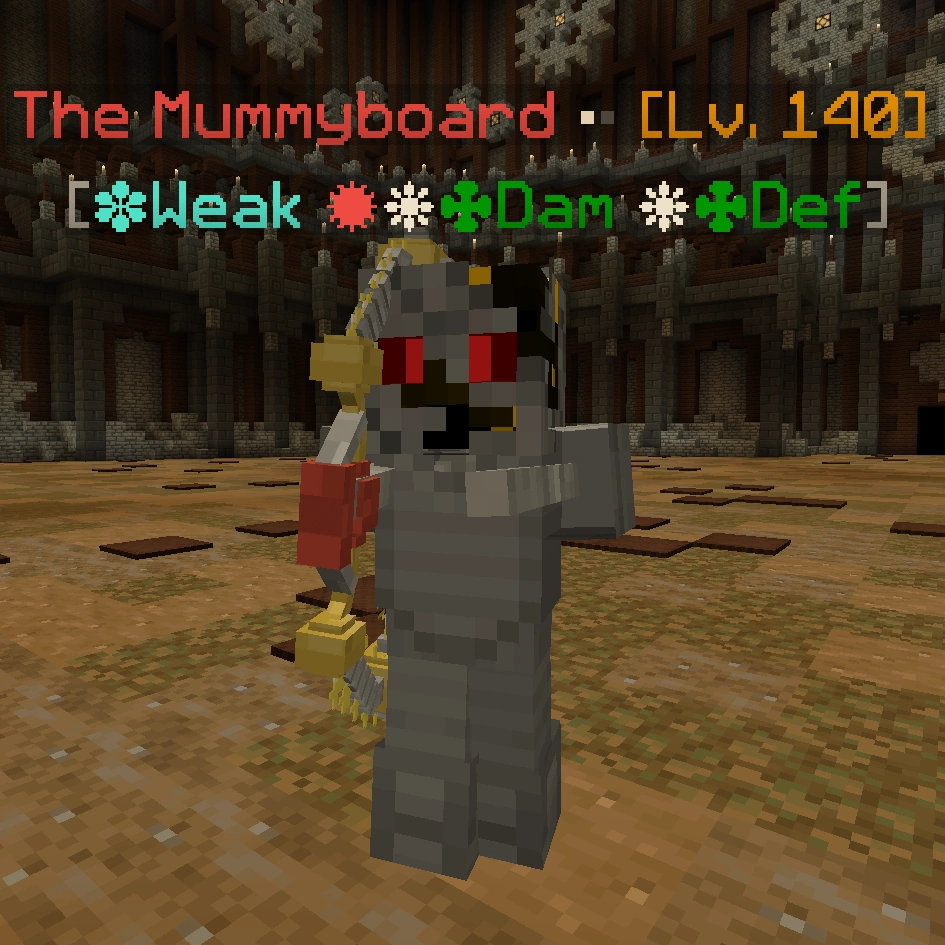
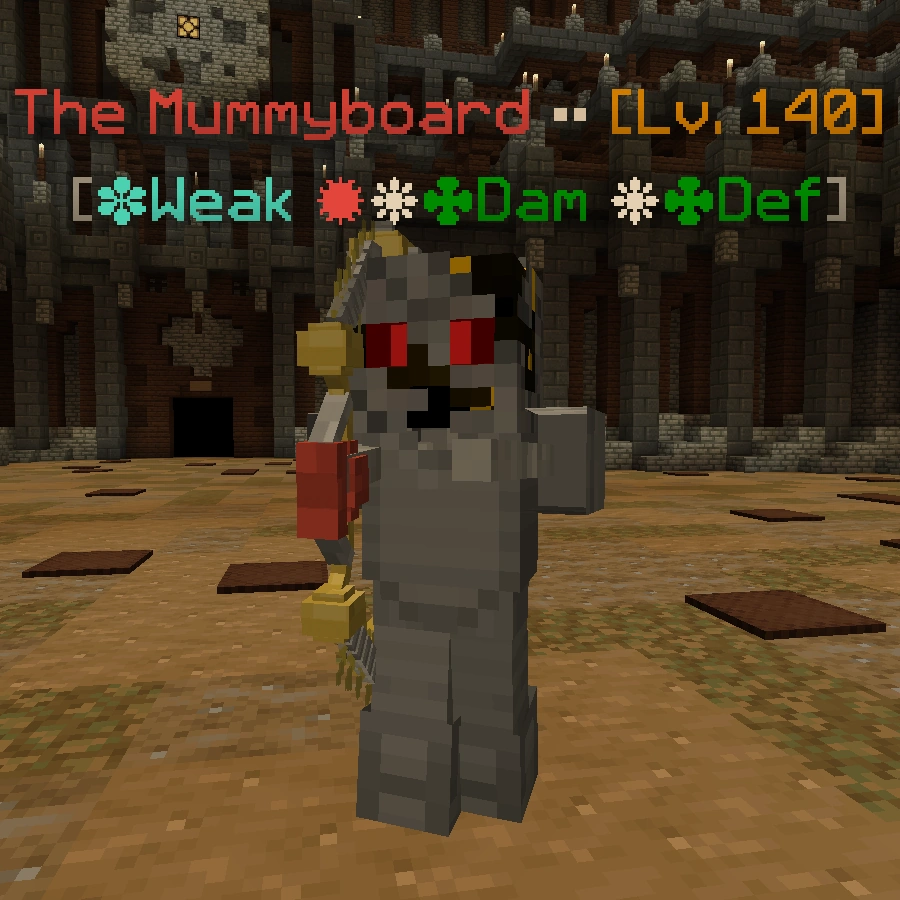
The Mummyboard[]
| The Mummyboard | |
| |
| Species | Robot |
|---|---|
| Level | 140 |
| Health | 637,500 (total) |
| AI Type | Ranged |
| Elemental Properties | |
| Damage | ??? |
| Location | |
| Location | Legendary Island |
The Mummyboard is the first challenger of the Island, and is based off of the Mummy in the Lvl. 36 quest, Wrath of the Mummy. It is weak to Water, resistant to Air and Earth, and inflicts Fire, Air, and Earth damage. The boss has two phases, with 275000 and 362500 health respectively, with both phases being ranged. The Mummyboard has CCI for the entirety of the battle.
The Mummyboard moves around by using Charge and Teleport spells. It fires projectiles at the player from a decent range, and can unleash a Flamethrower spell on those that come close to it. Once the Mummyboard transforms into its second phase, it starts shooting significantly faster and gains a Push spell. One should beware for the second phase's Heavy Flamethrower, as it can deal a high amount of damage to players inside it.
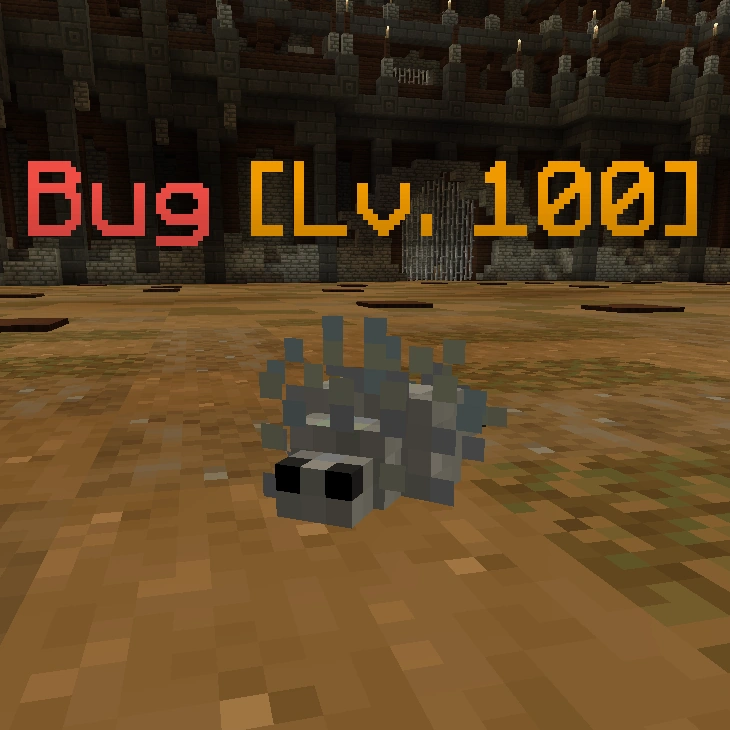
During the battle, two types of minions spawn in the arena: Bugs and Hardware Bugs. They are both simple melee enemies, with the Hardware bugs being more glassy and having a slightly higher damage output. A lot of minions spawn during the fight, but they are fairly weak, so they shouldn't be too much of an issue. Builds featuring life and mana steal can abuse the minions for easy health and mana sustain.
The boss's name is a pun on the word 'motherboard'.
| Image | Name | Level | Health | AI Type | Abilities | Elemental Stats | Drops | Location |
|---|---|---|---|---|---|---|---|---|
|
|
The Mummyboard (Phase 1) |
140 | 275000 | Ranged | Flamethrower Heavy Teleport Charge |
✹❋✤ Dam ❋✤ Def ✽ Weak |
The Mummyboard (Phase 2) |
Legendary Island |
|
The Mummyboard (Phase 2) |
140 | 362500 | Ranged | Heavy Flamethrower Heavy Teleport Push Charge Weakness Slowness |
✹❋✤ Dam ❋✤ Def ✽ Weak |
The Mummyboard (Phase 1) | |
|
Bug | 100 | 13000 | Melee | - | - | - | Legendary Island |
| File:HardwareBug.png | Hardware Bug | 100 | 13000 | Charge | - | ✦ Dam ✽ Weak |
- | Legendary Island |
Corkus Virus Doctor[]
| Corkus Virus Doctor | |

| |
| Species | Robot |
|---|---|
| Level | 140 |
| Health | 850,000 |
| AI Type | Ranged |
| Elemental Properties | |
| Damage | ??? |
| Location | |
| Location | Legendary Island |
The Corkus Virus Doctor is the second challenger of the Bronze tier, and is based on the Olux Plague Doctor from the Plague Laboratory Boss Altar. The boss inflicts Water and Earth damage, and is resistant to all elements. Unlike all other bosses on the island, the Plague Doctor only has one phase. The Virus Doctor has CCI.
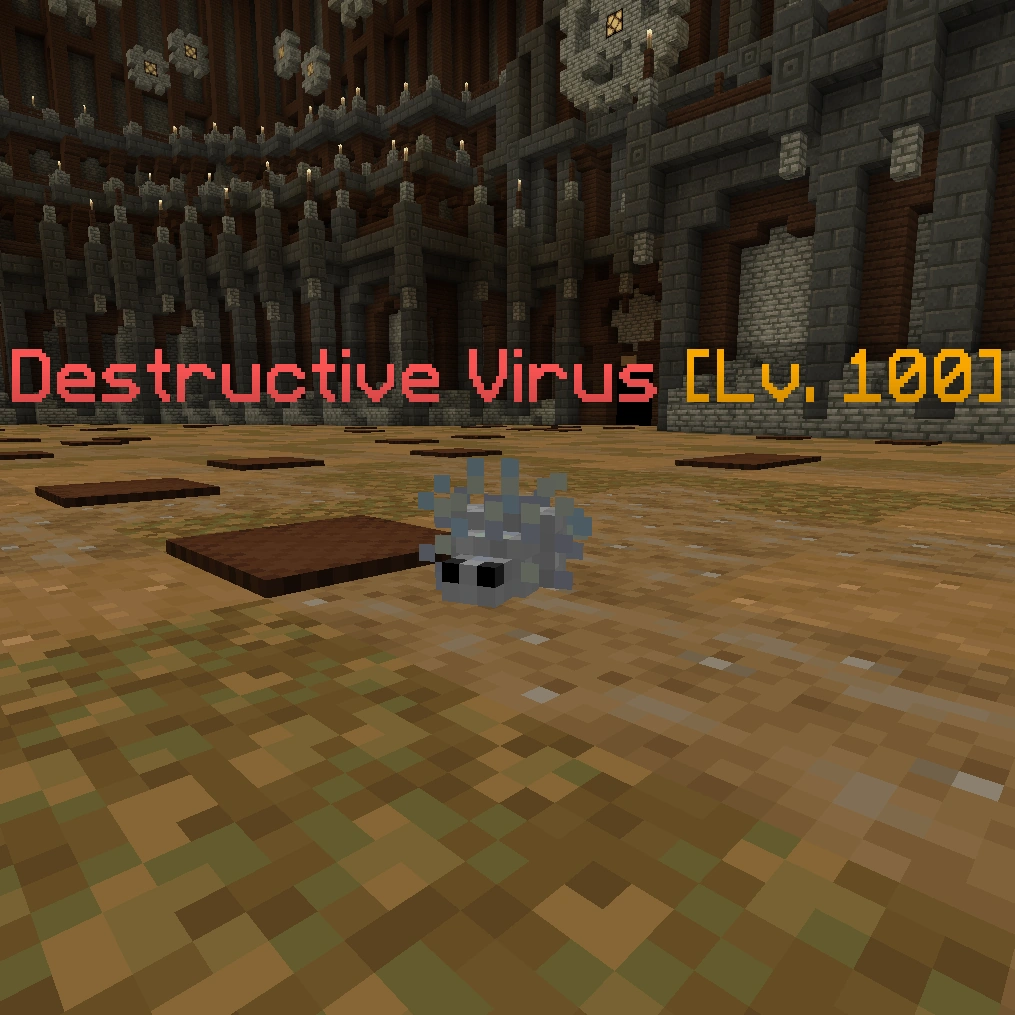
The boss itself is a fairly tanky ranged enemy, who moves by teleporting and charging. The Virus Doctor's main attacking spells consist of hard-hitting close-range Explosions, and long-range rapid-fire Arrow Storms. In his spell combos, the Virus Doctor will often attempt to pull the player towards an Explosion, or push them away and fire with Arrow Storm. You should also watch his movements, as he often combines Explosion and Charge to deal high area damage while moving. During the battle, many Virus enemies spawn in the arena, with most of them being practically unkillable. If the fight with Virus Doctor lasts too long, the viruses will start to multiply until there is an army of them, which will make it very hard to fight the boss himself.
During the battle, one should watch out particularly on the Explosions, as they can deal high damage to non-tank players. Kill the Regenerative Viruses, as they have a Heal spell, don't let too many unkillable Viruses spawn and don't get caught in the fire of Arrow Storm, and the boss should be completely doable.
The boss's name is related to computer viruses and infectious viruses.
| Image | Name | Level | Health | AI Type | Abilities | Elemental Stats | Drops | Location |
|---|---|---|---|---|---|---|---|---|
|
|
Corkus Virus Doctor | 140 | 850000 | Ranged | Teleport Explosion Heavy Explosion Charge Arrow Storm Pull Push |
✽✤ Dam ✹❋✽✤✦ Def |
Legendary Island | |

|
Contamination Virus | 100 | 5000000 | Melee | Slowness I Weakness I Self-Destruct |
- | Destructive Virus | Legendary Island Regenerative Virus |
|
Destructive Virus | 100 | 5000000 | Melee | Multihit Self-Destruct |
- | Regenerative Virus | Legendary Island Contamination Virus |
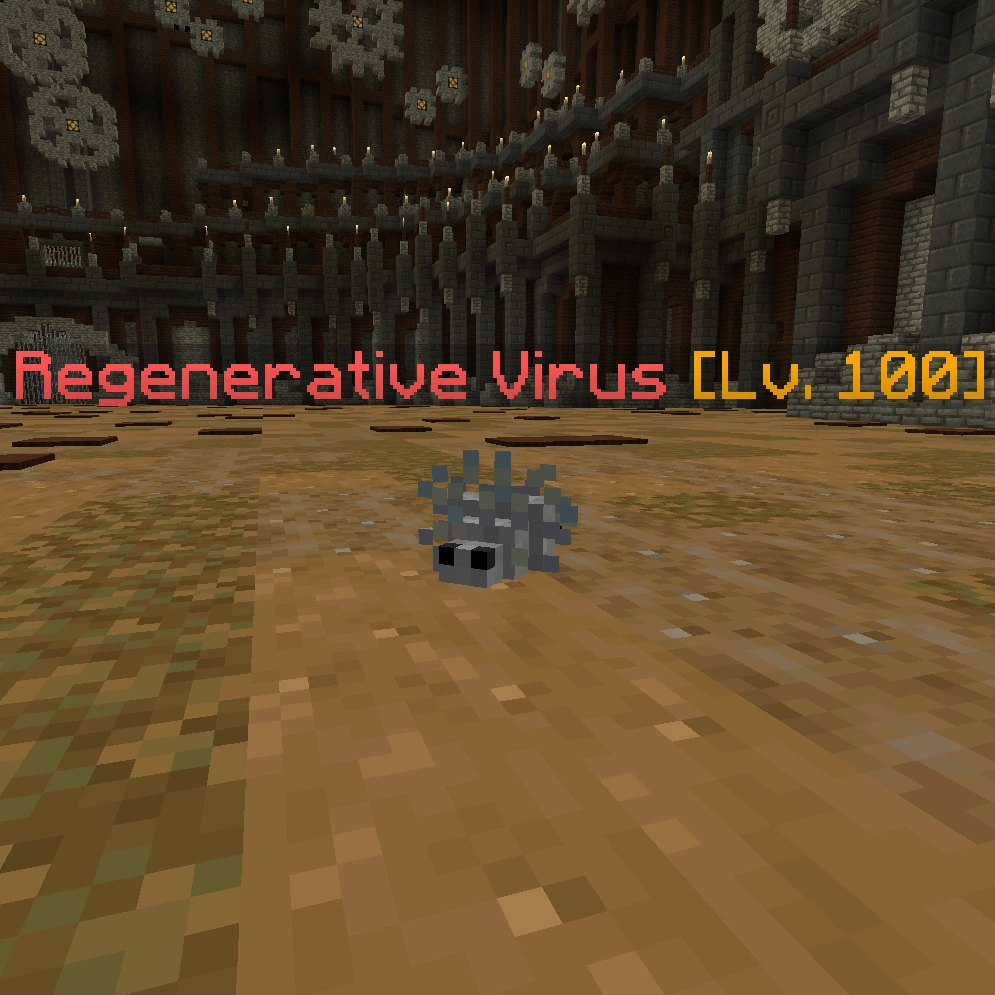
|
Regenerative Virus | 100 | 27000 | Melee | Heal Self-Destruct |
- | Contamination Virus | Legendary Island Destructive Virus |
Corkus Accipientis[]
| Corkus Accipientis | |

| |
| Species | Robot |
|---|---|
| Level | 140 |
| Health | 1,100,000 (total) |
| AI Type | Melee, Charge & Ranged |
| Elemental Properties | |
| Damage | ??? |
| Location | |
| Location | Legendary Island |
| Drops | |
| ??? | |
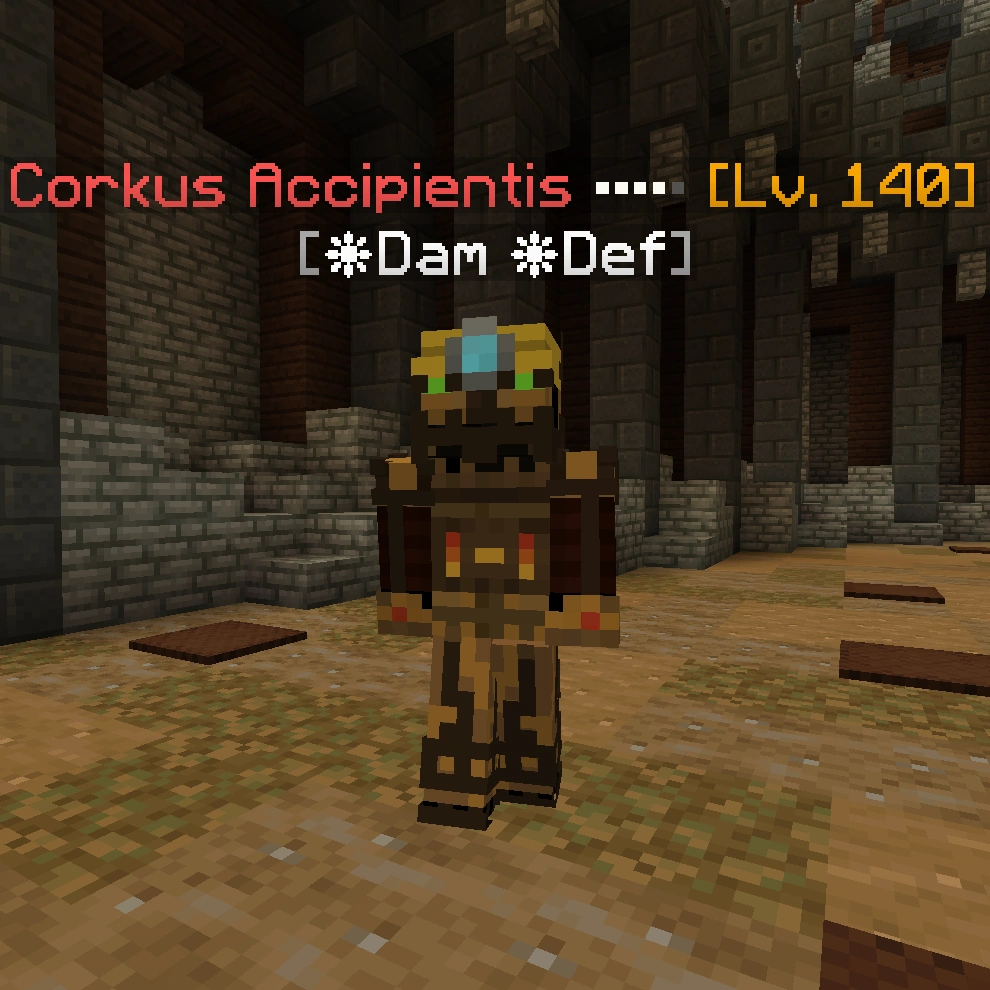
The Corkus Accipientis is the final challenger of the Bronze tier and is based on the shapeshifting Corpus Accipientis in the Lvl. 80 quest, General's Orders. This boss, like the original, has many forms to go through. To add to the challenge, it also has minions with multiple phases, each phase representing an element. Depending on your build, they may deal more damage than the boss.
Its name is a pun on "Corpus" sounding similar to "Corkus".
The first four forms have 150000 health each, while the fifth form has 100000 health. Each form, except for the very final one, has CCI.
First Form
The first form is a heavy-hitting Iron Golem. Contrary to this damage type, it has a normal, if not faster than average speed. Players that cannot heal debuffs on their own should try to kill this phase very quickly, as it can cast punishing, long-lasting Slowness and Weakness debuffs, which will probably last for most, if not all of the boss battle if not cured. The Golem's Charge may still hurt, so be fast, and be careful.
Second Form
The second form is a ranged elf, which primarily uses Heavy Teleport and Heavy Explosion, and occasionally Heal and Meteor. Dodge its hits by rotating around the boss, but keep an eye on the minions as well. Take note of where it teleports so that the boss doesn't catch you off guard, as it can deal high damage.
Third Form
The third form is a Villager guard, which casts Charge, Pull, and Multihit. Due to CCI making it unable to stun this boss, you should always slightly back off as this melee enemy approaches you. If it pulls you, get quickly away from Multihit range. If it charges, just see that the charges won't hit you, and watch where the boss will land.
Fourth Form
The fourth form is a mining robot. It moves very quickly around, and casts a fairly powerful Arrow Storm. As the boss can reposition itself very quickly, you need to watch out not to get caught straight in an Arrow Storm at point blank range. Sometimes, the phase may even cast a combo of Charges, which will make it go flying around the arena, landing in one spot.
Fifth Form
The fifth and final form is a magma cube. This should be the easiest to kill because it has low attack and will retreat if you damage it. The minions and the boss's push spell may cause trouble, but all in all, it's an easy form to deal with due to its lack of CCI.
| Image | Name | Level | Health | AI Type | Abilities | Elemental Stats | Drops | Location |
|---|---|---|---|---|---|---|---|---|
|
|
Corkus Accipientis (Phase 1) |
140 | 250000 | Melee | Slowness II Weakness II Charge |
✤ Dam ✤ Def |
Corkus Accipientis (Phase 2) |
Legendary Island |

|
Corkus Accipientis (Phase 2) |
140 | 250000 | Ranged | Heavy Teleport Heal Heavy Explosion Meteor |
✹✤ Dam ✹✤ Def |
Corkus Accipientis (Phase 3) |
Corkus Accipientis (Phase 1) |

|
Corkus Accipientis (Phase 3) |
140 | 250000 | Melee | Charge Pull Multihit |
✦ Dam ✦ Def |
Corkus Accipientis (Phase 4) |
Corkus Accipientis (Phase 2) |
|
Corkus Accipientis (Phase 4) |
140 | 250000 | Melee | Arrow Storm Pull Charge |
❋ Dam ❋ Def |
Corkus Accipientis (Phase 5) |
Corkus Accipientis (Phase 3) |

|
Corkus Accipientis (Phase 5) |
140 | 100000 | Melee | Charge Push |
❋ Def | Corkus Accipientis (Phase 4) | |
|
Shift-O-Bot (Phase 1) |
92 | 13500 | Melee | - | ✹ Dam ✹ Def |
Shift-O-Bot (Phase 2) |
Legendary Island |
|
Shift-O-Bot (Phase 2) |
92 | 13500 | Melee | - | ✽ Dam ✽ Def |
Shift-O-Bot (Phase 3) |
Shift-O-Bot (Phase 1) |
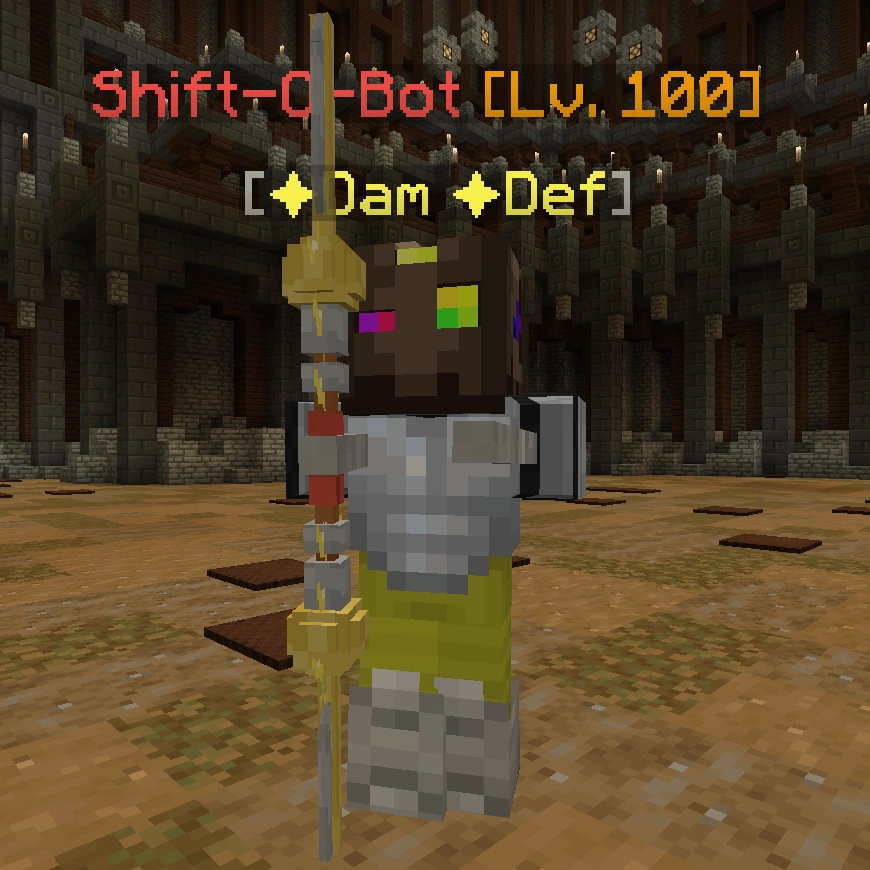
|
Shift-O-Bot (Phase 3) |
100 | 13500 | Melee | - | ✦ Dam ✦ Def |
Shift-O-Bot (Phase 2) |
Shift-O-Bot (Phase 4) |

|
Shift-O-Bot (Phase 4) |
100 | 13500 | Melee | - | ✤ Dam ✤ Def |
Shift-O-Bot (Phase 3) |
Shift-O-Bot (Phase 5) |

|
Shift-O-Bot (Phase 5) |
100 | 13500 | Melee | - | ❋ Dam ❋ Def |
Shift-O-Bot (Phase 6) |
Shift-O-Bot (Phase 4) |

|
Shift-O-Bot (Phase 6) |
100 | 13500 | Melee | - | ✹❋✽✤✦ Dam ✹❋✽✤✦ Def |
- | Shift-O-Bot (Phase 5) |
Matrojan Idol[]
| Matrojan Idol | |

| |
| Species | Robot |
|---|---|
| Level | 150 |
| Health | 2,011,250 (total) |
| AI Type | Melee & Charge |
| Elemental Properties | |
| Damage | ??? |
| Location | |
| Location | Legendary Island |
| Drops | |
| ??? | |
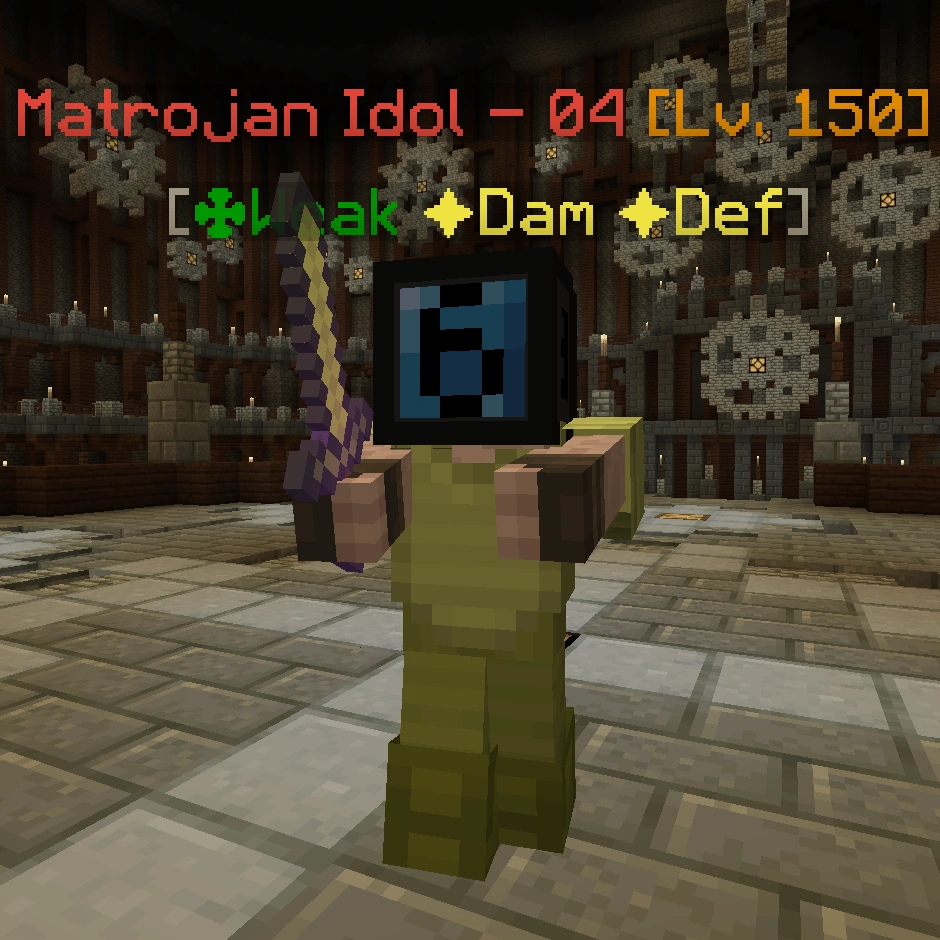
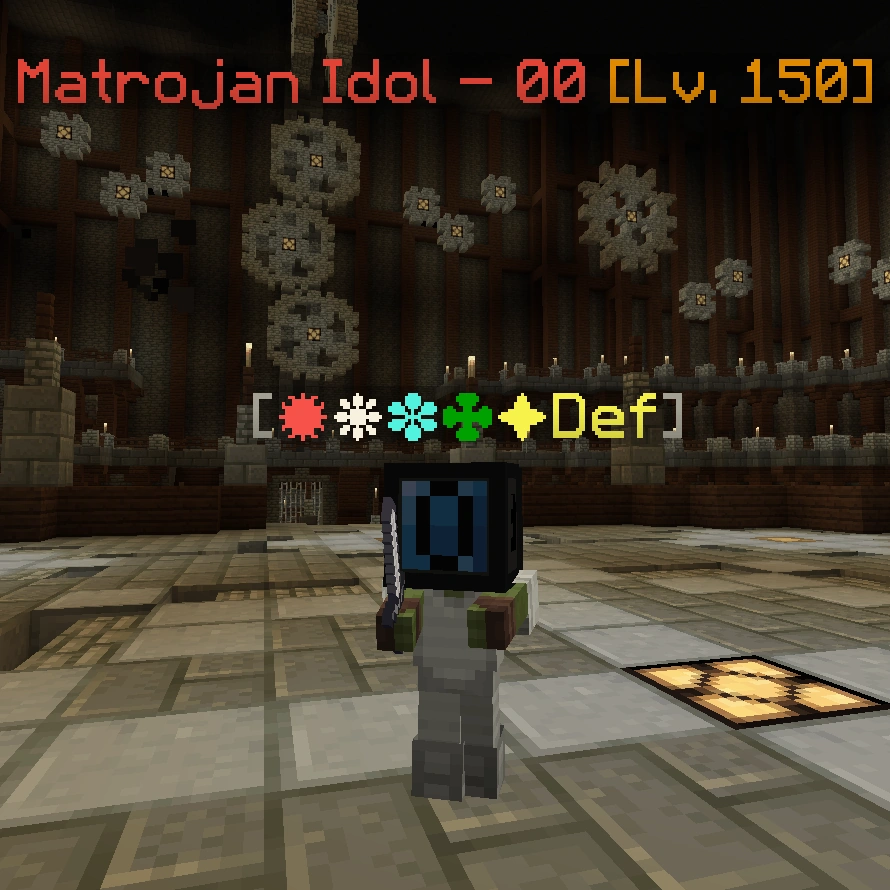
The Matrojan Idol is the first challenger of the Silver tier and is based on the Matryoshka Idol. The boss has a whopping ten total forms, which is tied for the second highest amount in the game. At first, the Idol is more of a tankier and slower boss, but gradually turns into a glassier and faster one as the battle progresses. Each phase, the Idol cycles between spells and elemental weaknesses, damages and defenses. It is recommended to take into account the elemental stats of each of the forms in order to beat this boss, as some of the defenses may wall some single-element weapons that don't have a high damage. Every phase has CCI. Its name is a portmanteau of the words “trojan” as in trojan computer viruses, and “matryoshka” as in the Matryoshka Idol.
First Form
The first form is slow but strong and takes slightly negative knockback. Its Heavy Flamethrower spell can drain your health down very quickly, especially in the small arena. It has 290 000 HP.
Second Form
The second form has mediocre speed and uses Pull and Meteor. One should watch out for a combo where the Idol pulls you and then casts a Meteor afterwards while you are close to it, as it can deal high damage. This form has 270 000 HP.
Third Form
The third form has normal speed and 257 500 HP. It moves around the arena stealthily with Vanish and casts Multihit at close range.
Fourth Form
The fourth form is speedy and spams Charge alongside Pull. It has around 237 500 HP.
Fifth Form
The fifth form is similar to the fourth form, but it uses Heavy Charge instead of Charge, dealing high area damage, although it does not have Pull. Sometimes, the Idol casts Explosion at the end of a charge combo. This phase has 215 000 HP.
Sixth Form
The sixth form is quite speedy and spams Arrow Storm. Just watch out not to get caught straight within the fire. The HP of this form is around 191 250.
Seventh Form
The seventh form often teleports around the arena, catching you off guard. It can also do some nasty damage, so be mindful of where it teleports. As the fight goes on, the HP of the forms clearly starts to decrease, as this phase now has 175 000 of it.
Eighth Form
The eighth form is quick, but it isn't as focused on damage, as this phase mainly attempts to spam debuffs on you right before the very final phases. It has 150 000 HP.
Ninth Form
The ninth form is the last real possible threat in the battle. It moves fast with Charge and tries to take down the player with Multihit, though it only has 125 000 HP.
Tenth Form
The tenth and final form is small, weak, and fragile, and shouldn't cause too much trouble. It pushes you back and moves quickly, possibly making it annoying, though it poses no real threat. It only has 100 000 HP.
| Image | Name | Level | Health | AI Type | Abilities | Elemental Stats | Drops | Location |
|---|---|---|---|---|---|---|---|---|
|
|
Matrojan Idol (Phase 1) |
150 | 290000 | Melee | Heavy Flamethrower Pull |
✹❋ Dam ✹❋ Def ✽✤ Weak |
Matrojan Idol (Phase 2) |
Legendary Island |

|
Matrojan Idol (Phase 2) |
150 | 270000 | Melee | Pull Meteor |
✹ Dam ✹ Def ✽ Weak |
Matrojan Idol (Phase 3) |
Matrojan Idol (Phase 1) |

|
Matrojan Idol (Phase 3) |
150 | 257500 | Melee | Multihit Vanish Pull |
✤✦ Dam ✤✦ Def ❋✽ Weak |
Matrojan Idol (Phase 4) |
Matrojan Idol (Phase 2) |
|
Matrojan Idol (Phase 4) |
150 | 237500 | Melee | Charge Pull |
✦ Dam ✦ Def ✤ Weak |
Matrojan Idol (Phase 5) |
Matrojan Idol (Phase 3) |

|
Matrojan Idol (Phase 5) |
150 | 215000 | Melee | Heavy Charge Explosion |
✤ Dam ✤ Def ❋ Weak |
Matrojan Idol (Phase 6) |
Matrojan Idol (Phase 4) |

|
Matrojan Idol (Phase 6) |
150 | 191250 | Charge | Arrow Storm Push |
❋✤ Dam ❋✤ Def ✹ Weak |
Matrojan Idol (Phase 7) |
Matrojan Idol (Phase 5) |

|
Matrojan Idol (Phase 7) |
150 | 175000 | Charge | Heavy Teleport | ❋✽ Dam ❋✽ Def ✤✦ Weak |
Matrojan Idol (Phase 8) |
Matrojan Idol (Phase 6) |

|
Matrojan Idol (Phase 8) |
150 | 150000 | Charge | Heavy Slowness Heavy Weakness Pull |
✽ Dam ✽ Def ✦ Weak |
Matrojan Idol (Phase 9) |
Matrojan Idol (Phase 7) |

|
Matrojan Idol (Phase 9) |
150 | 125000 | Melee | Charge Multihit |
✹✽ Dam ✹✽ Def ✦ Weak |
Matrojan Idol (Phase 10) |
Matrojan Idol (Phase 8) |
|
Matrojan Idol (Phase 10) |
150 | 100000 | Melee | Teleport Charge Push |
✹❋✽✤✦ Def | Matrojan Idol (Phase 9) |
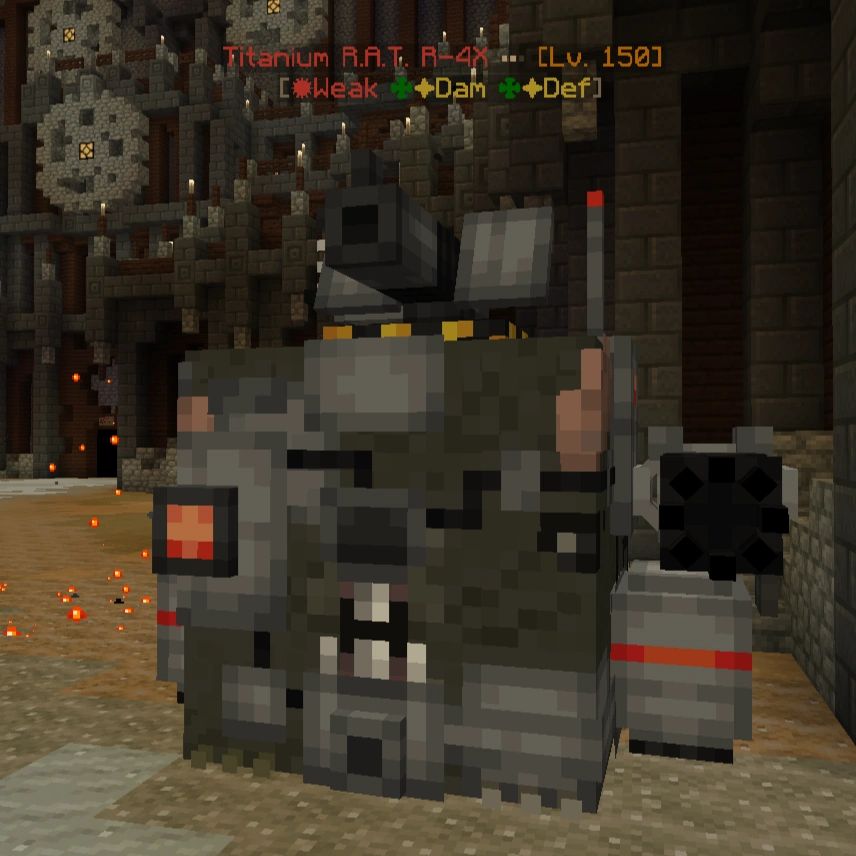
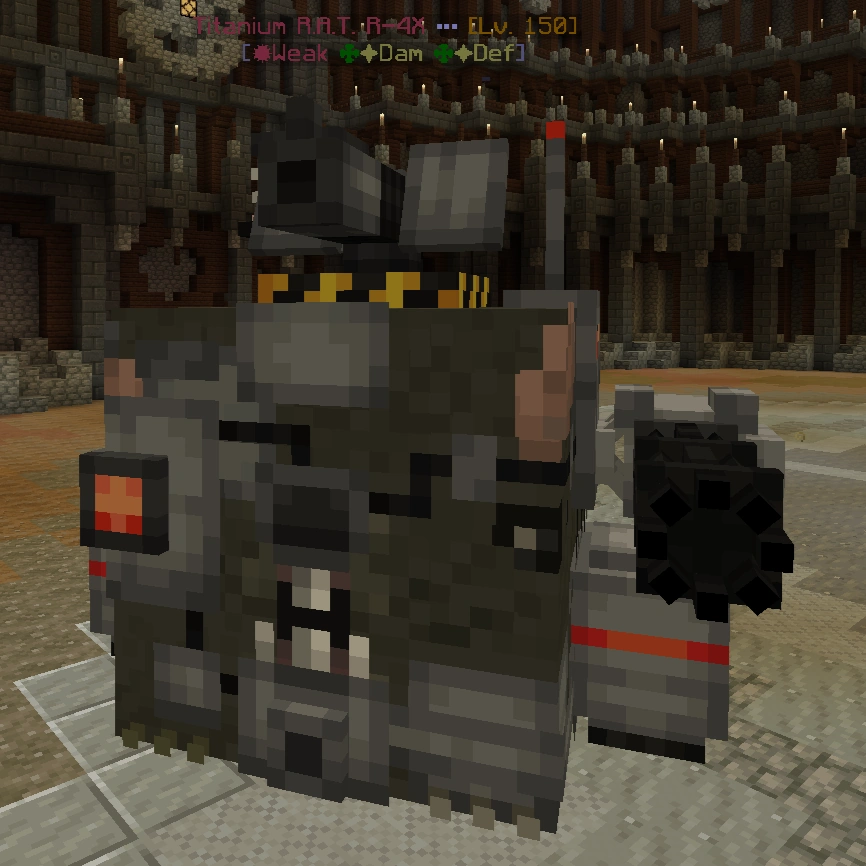
Titanium R.A.T. R-4X[]
| Titanium R.A.T. R-4X | |
| |
| Species | Robot |
|---|---|
| Level | 150 |
| Health | 1,100,000 (total) |
| AI Type | Melee |
| Location | |
| Location | Legendary Island |
| Drops | |
| Legendary Challenge Token | |
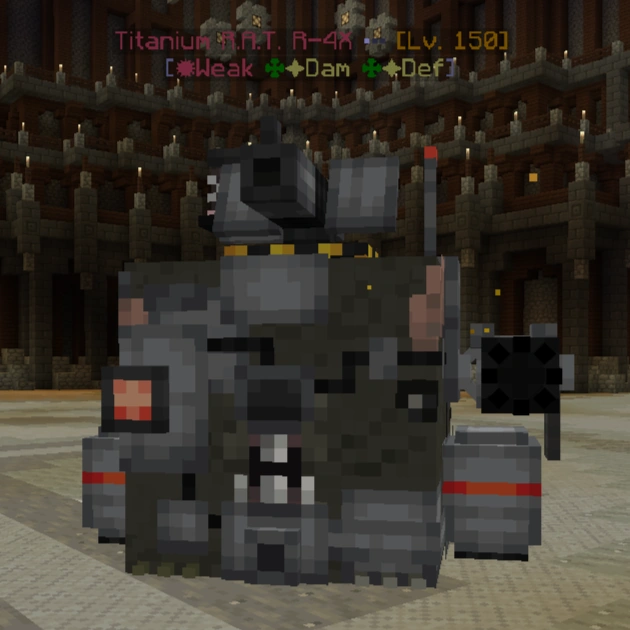
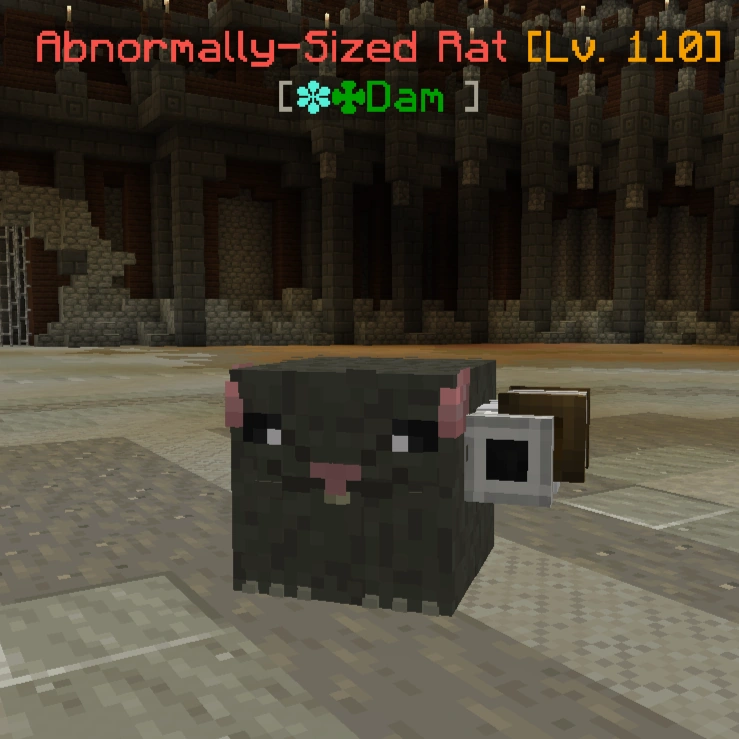
The Titanium R.A.T. R-4X, based on the Colossal Rat found in Misadventure on the Sea, is a surprise boss appearance in the Legendary Challenge, destroying YahyaBot V4.04, thus taking its place as the challenger as the second challenger of the Silver Tier. Accompanying it are several Unusually and Abnormally Sized Rats. It is the only boss in the Legendary Challenge to have unique spells. Its name is a pun on the element Titanium, which has the prefix of 'titan', a synonym for large.
When you enter its arena, the text that introduces YahyaBot V4.04 changes to the title of the new boss, the Titanium R.A.T. R-4X, with YahyaBot's destroyed robot body in the center of the arena.
The Titanium R.A.T. R-4X has three phases. The first phase has 250000 HP, alongside Minigun and Cheese Cannon. Minigun is when three thumping sounds play in rapid succession, before the boss winds up for a salvo of projectiles that affect everyone within the area of effect. Cheese Cannon is when the boss jumps in the air fires a projectile that looks like cheese from one of its cannons, which can deal immense damage to anyone caught hit by the cheese, as well as spawning some Unusually and Abnormally-Sized Rats. The Unusually-Sized Rats are melee, while the Abnormally-Sized are ranged.
In the second phase, the boss has 350000 HP and gains a new spell, Target Slam, where the boss will mark several areas on the ground with red circles with Xs in them, and will later jump high up in the air and slam down on every spot it put the marks on.
In the third and final phase, the boss will have 500000 HP and gains a new spell, Jetpack Charge. When using Jetpack Charge, the boss will jump in the air and stay there while a blue line from the boss will be aimed at a player, and when the line turns orange, the boss will rush towards the area locked on. This can have a spell combo with Target Slam.
| Image | Name | Level | Health | AI Type | Abilities | Elemental Stats | Drops | Location |
|---|---|---|---|---|---|---|---|---|
|
|
Titanium R.A.T. R-4X (Phase 1) |
150 | 250000 | Melee | Charge Heavy Charge Multihit Minigun Cheese Cannon |
✹ Weak ✤✦ Dam ✤✦ Def |
Titanium R.A.T. R-4X (Phase 2) | Legendary Island |
|
Titanium R.A.T. R-4X (Phase 2) |
150 | 350000 | Melee | Charge Heavy Charge Multihit Minigun Cheese Cannon Target Slam |
✹ Weak ✤✦ Dam ✤✦ Def |
Titanium R.A.T. R-4X (Phase 3) | Legendary Island |
|
Titanium R.A.T. R-4X (Phase 3) |
150 | 500000 | Melee | Charge Heavy Charge Multihit Minigun Cheese Cannon Target Slam Jetpack Charge |
✹ Weak ✤✦ Dam ✤✦ Def |
Legendary Island | |
|
Abnormally-Sized Rat | 110 | 37750 | Ranged | - | ✽✤ Dam | - | Legendary Island |

|
Unusually-Sized Rat | 110 | 37750 | Melee | Charge | ✹✤ Dam | - | Legendary Island |
Death Metal[]
| Death Metal | |

| |
| Species | Robot |
|---|---|
| Level | 150 |
| Health | 840,000 (total) |
| AI Type | Ranged |
| Elemental Properties | |
| Damage | ??? |
| Location | |
| Location | Legendary Island |
| Drops | |
| ??? | |
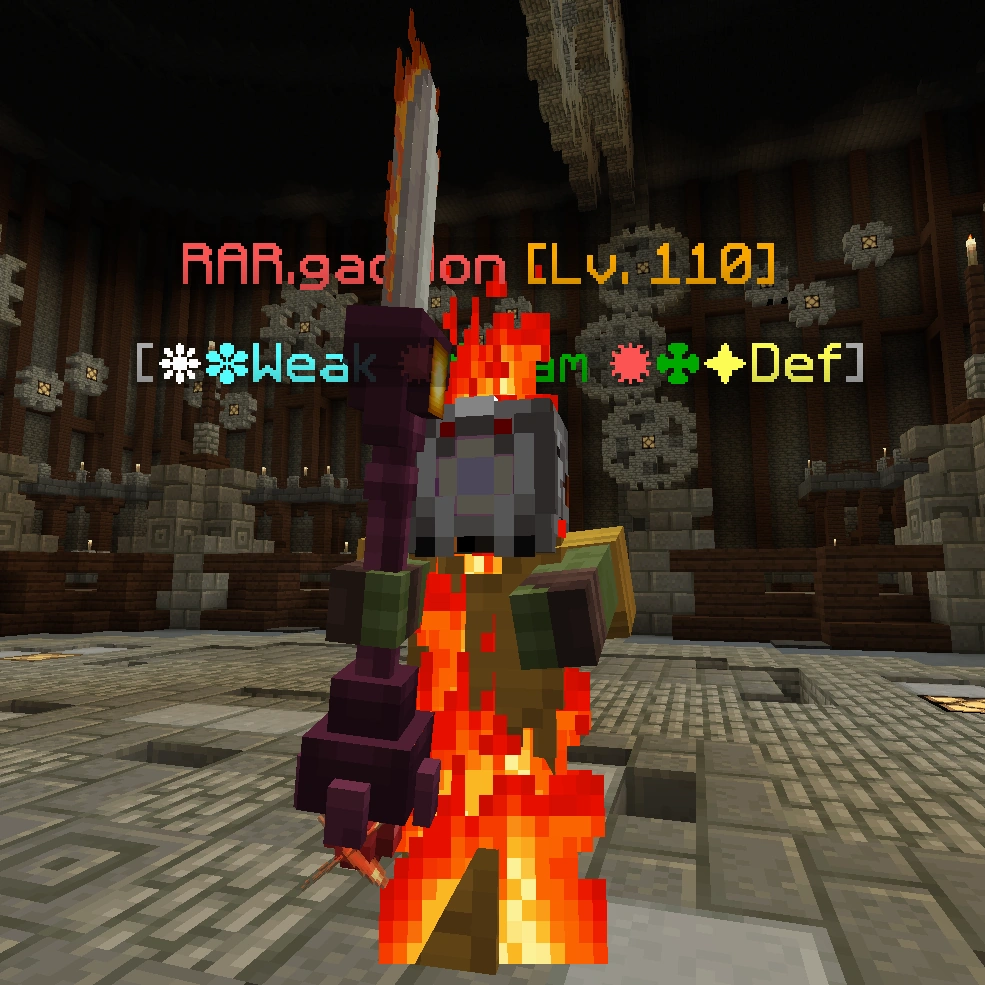
Death Metal is the third and final challenger of the Silver tier, and is based off of Death on top of the Tower of Ascension. This is one of the harder bosses in the challenge due to its multiple deadly attacks being harder to dodge in a small arena. Accompanying Death Metal are all 6 bosses of the Tower of Ascension - Snow Malware (Snow Bear), RAR.gaddon (Argaddon), Glitch Doctor (Witch Doctor), Antivirus (Guardian), Wired Beast (Chained Beast), and Metalkevö (Alkevö). Death Metal has CCI all throughout the fight, but none of the other bosses have it.
Death Metal has two forms, one stronger than the other. The first form shoots projectiles rapidly (in the shape of scythes), while the second form uses a slightly slower burst fire. When the battle begins, it's advised to take out all of the minion bosses first to make the fight easier and less messy; Wired Beast is especially dangerous due to its high-damaging Heavy Charge. Death Metal utilizes a close-range high-damage Multihit combo and an Arrow Storm spell, which can easily cover the arena from one side to another. If you're focusing on the other bosses first, keep Death Metal's position and attacks in mind, as his spells are very powerful and can catch you off-guard in this situation. The first phase has 500 000 HP. The second phase is glassier, as it only has 340 000 HP. When the boss enters its second phase, you should only go in to hit Death Metal between his burst fire attacks if you're playing as a close-range class, as the burst fire deals tremendous damage if all hits connect to a non-tank player.
Death Metal's name is a reference to a music genre of the same name. This is intentional, as can be seen from the fact that Death Metal plays his scythe as a guitar.
| Image | Name | Level | Health | AI Type | Abilities | Elemental Stats | Drops | Location |
|---|---|---|---|---|---|---|---|---|
|
|
Death Metal (Phase 1) |
150 | 500000 | Ranged | Multihit Push Arrow Storm |
❋✤✦ Dam ❋✤✦ Def ✹✽ Weak |
Death Metal (Phase 2) |
Legendary Island |

|
Death Metal (Phase 2) |
150 | 340000 | Ranged | Multihit Push Arrow Storm |
❋✤✦ Dam ❋✤✦ Def ✹✽ Weak |
Death Metal (Phase 1) | |

|
Snow Malware | 110 | 55000 | Ranged | Slowness I | ❋✽ Dam ❋✽ Def ✦ Weak |
- | Legendary Island |
|
RAR.gaddon | 110 | 90000 | Melee | Heavy Explosion | ✹✤ Dam ✹✤✦ Def ❋✽ Weak |
- | Legendary Island |

|
Glitch-Doctor | 110 | 135000 | Ranged | Slowness II Weakness II |
✤✦ Dam ✤ Def ❋ Weak |
- | Legendary Island |

|
Antivirus | 110 | 400000 | Melee | Charge Pull |
✽ Dam ✹✽ Def ✦ Weak |
- | Legendary Island |
|
Wired Beast | 110 | 265000 | Melee | Heavy Charge | ❋ Weak | - | Legendary Island |

|
Metalkevö | 110 | 360000 | Melee | Self-Destruct Pull Explosion |
❋✤✦ Dam ✤ Def ✽ Weak |
- | Legendary Island |
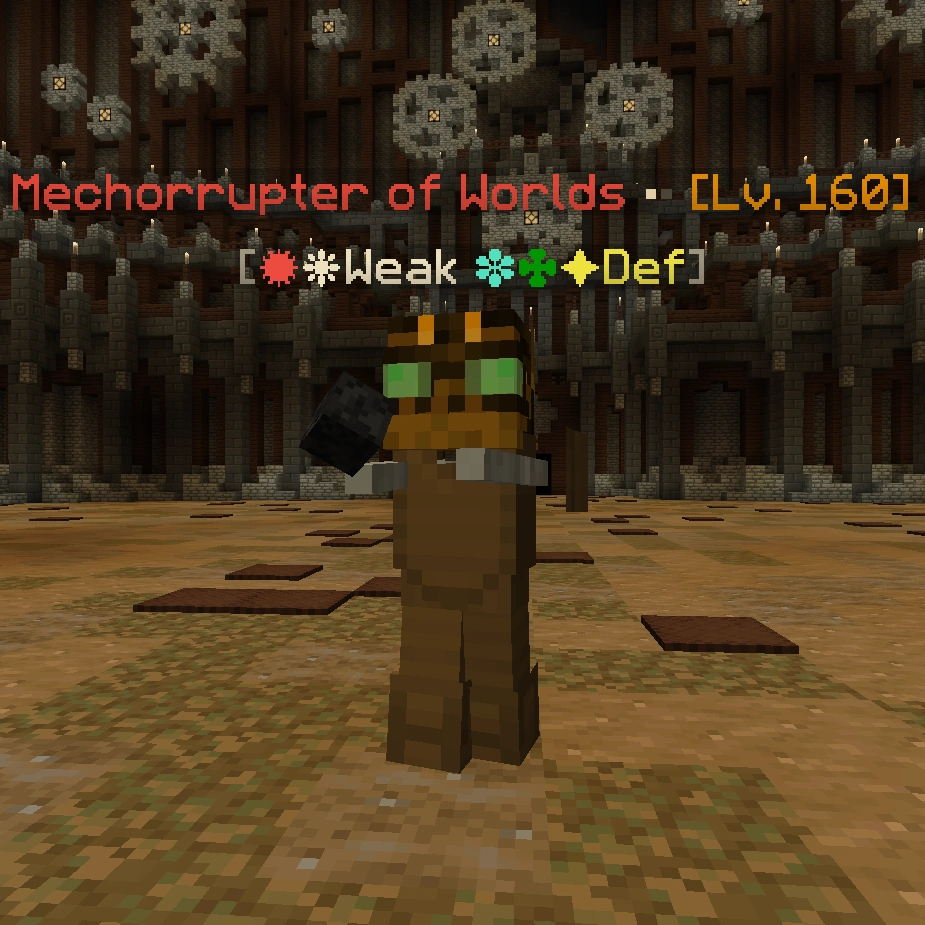
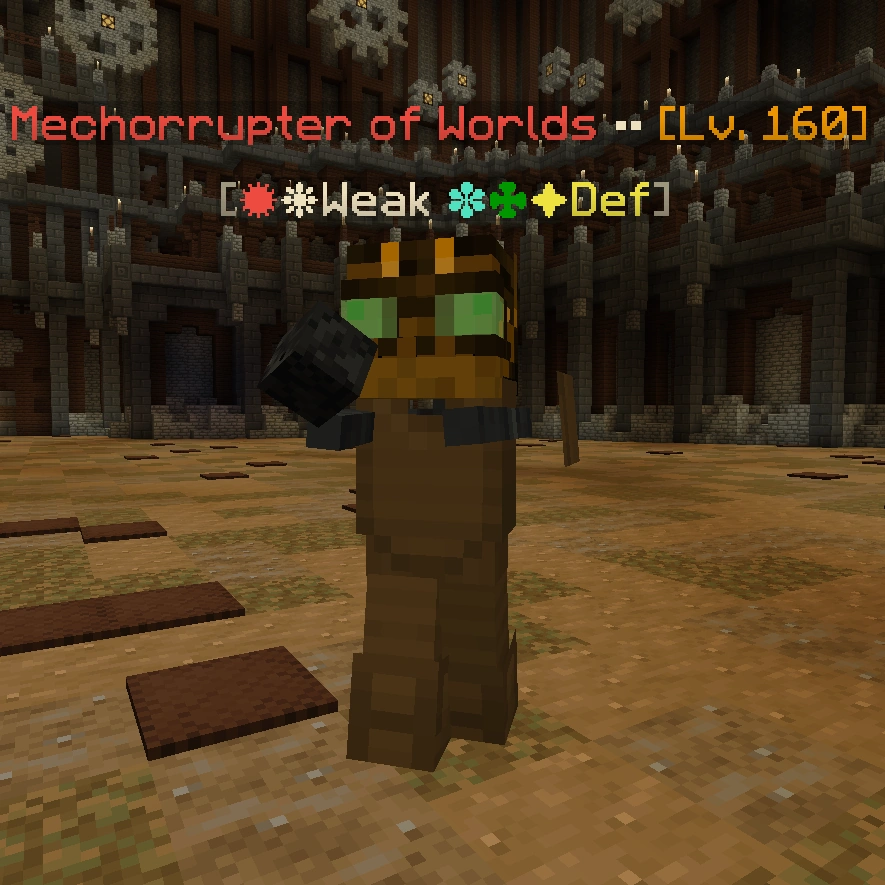
Mechorrupter of Worlds[]
| Mechorrupter of Worlds | |
| |
| Species | Robot |
|---|---|
| Level | 160 |
| Health | 1,000,000 (total) |
| AI Type | Melee |
| Elemental Properties | |
| Damage | ??? |
| Location | |
| Location | Legendary Island |
| Drops | |
| Legendary Challenge Token | |
The Mechorrupter of Worlds is the first challenger of the Gold tier and is based off of the Corrupter of Worlds seen in Temple of the Legends. Since this boss doesn't have CCI, it is one of the easiest ones on the island as long as you know what you're doing, and it could be thought of as a small "break" before the three final bosses of the island, all of which can prove to be problematic.
Although it deals minor damage, the Mechorrupter can drain your health down quickly due to its extremely high attack speed. If you get caught in its attacks, just stun it or escape with a movement spell. The boss often tries to pull you near it and spam Multihit, which can deal high damage if it hits. In the second phase of the battle, the Mechorrupter gains the ability to Vanish and turn invisible. Accompanying the boss are Mechorrupter Spawns, which shouldn't be too much trouble to kill, though they will try to debuff you, so it is recommended to clear them out fairly quickly.
| Image | Name | Level | Health | AI Type | Abilities | Elemental Stats | Drops | Location |
|---|---|---|---|---|---|---|---|---|
|
|
Mechorrupter of Worlds (Phase 1) |
160 | 300000 | Melee | Multihit Pull |
✽✤✦ Def ✹❋ Weak |
Mechorrupter of Worlds (Phase 2) |
Legendary Island |
|
Mechorrupter of Worlds (Phase 2) |
160 | 700000 | Melee | Multihit Pull Vanish |
✽✤✦ Def ✹❋ Weak |
Mechorrupter of Worlds (Phase 1) | |
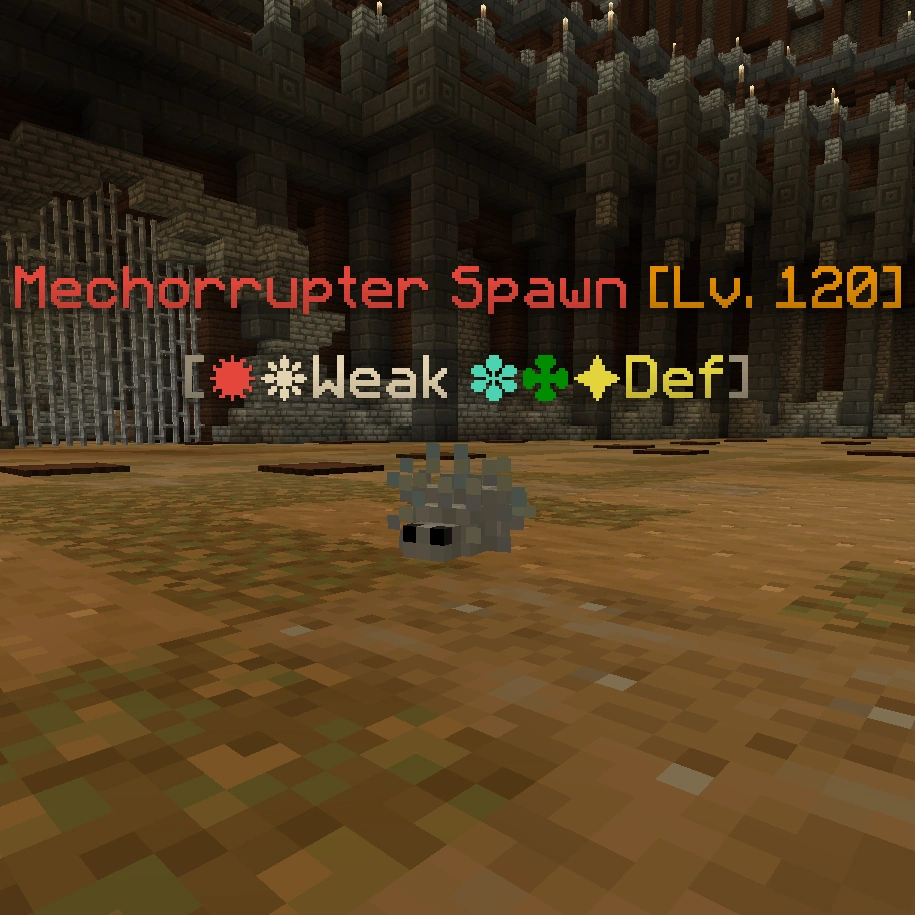
|
Mechorrupter Spawn | 120 | 16000 | Charge | Heavy Weakness Heavy Slowness |
✽✤✦ Def ✹❋ Weak |
- | Legendary Island |
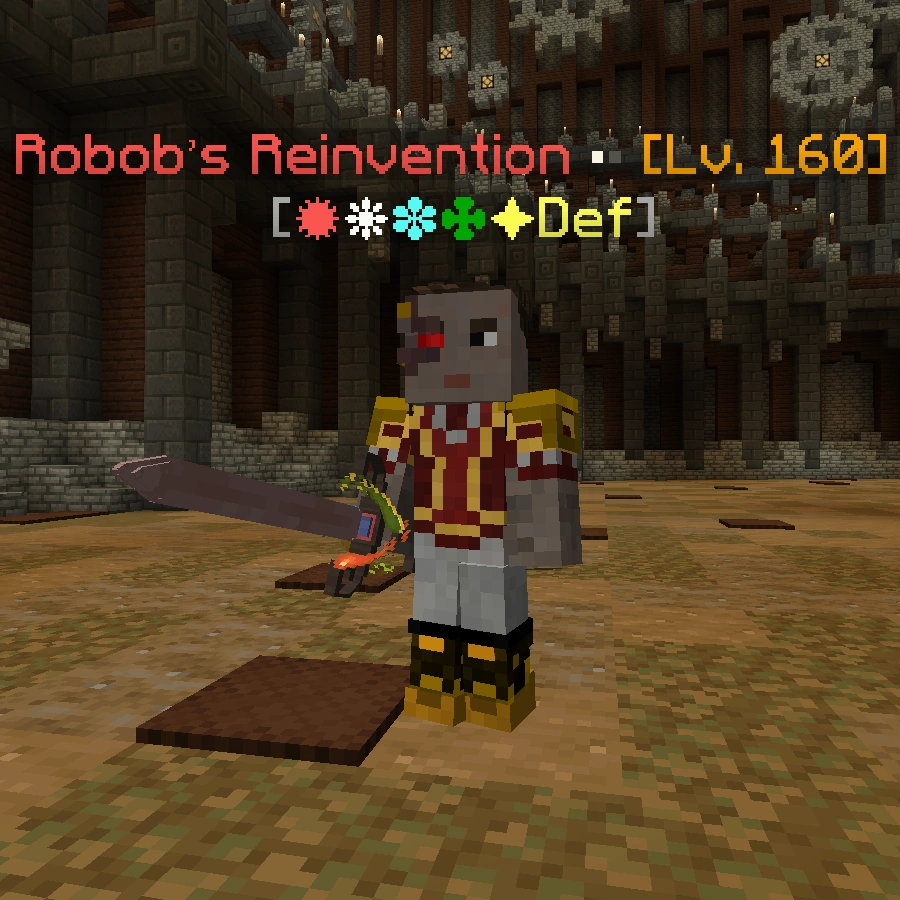
Robob's Reinvention[]
| Robob’s Reinvention | |
| |
| Species | Robot |
|---|---|
| Level | 160 |
| Health | 1,400,000 (total) |
| AI Type | Melee & Ranged |
| Elemental Properties | |
| Damage | ??? |
| Location | |
| Location | Legendary Island |
| Drops | |
| Legendary Challenge Token | |
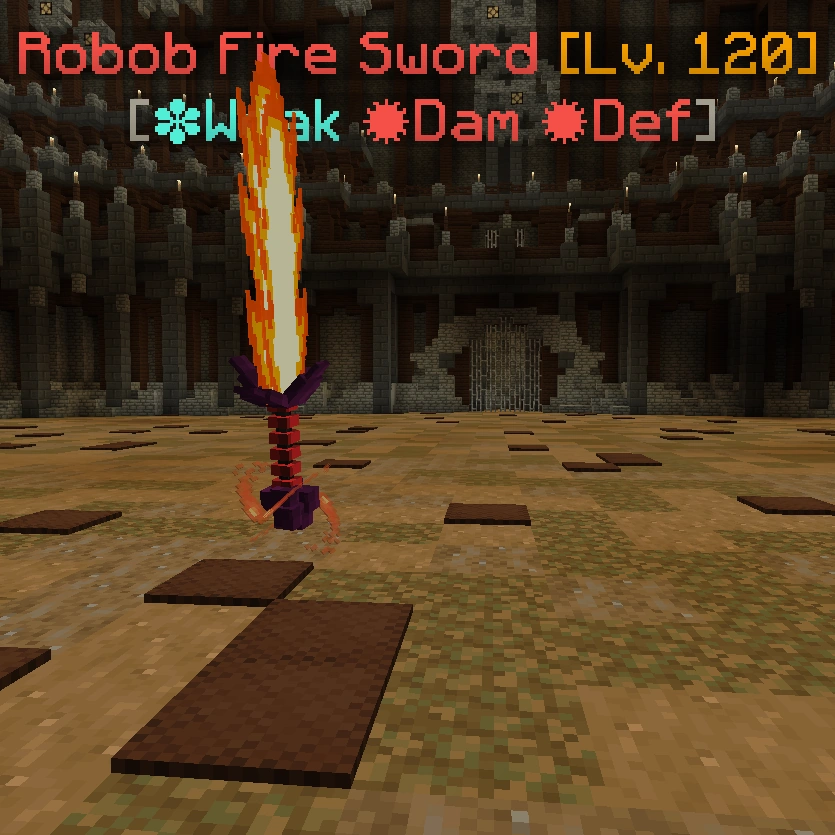
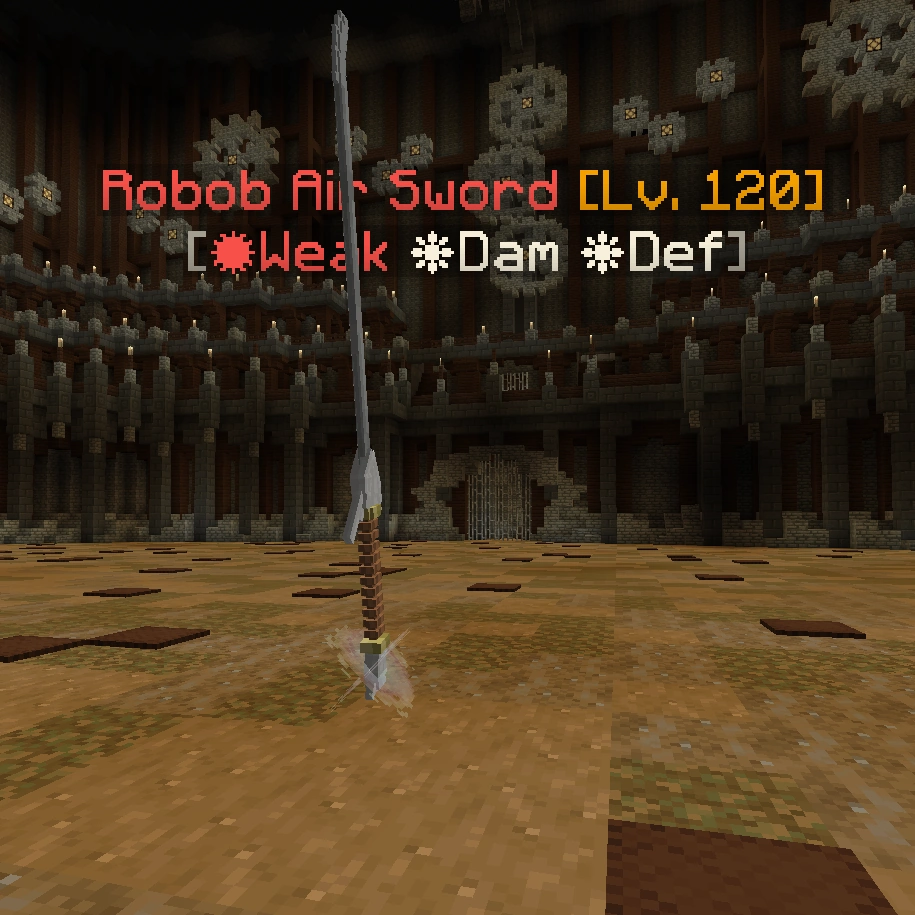
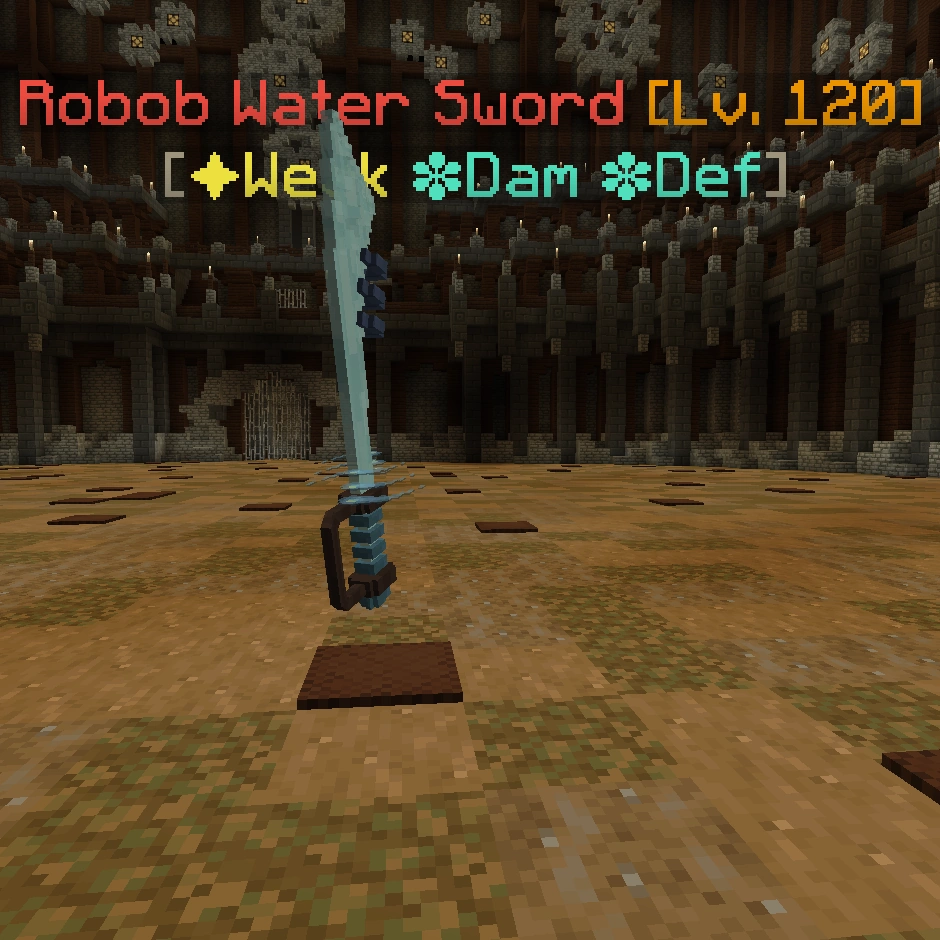
Robob's Reinvention is the second challenger of the Gold tier and is based on Bob's Reincarnation in the Lvl. 74 quest Reincarnation. This boss is one of the hardest ones on the island, mainly due to its high-damaging spell combos. Similar to the original Bob's Reincarnation, Robob has four phases, each one representing a class that Robert studied on his journeys. Accompanying Robob are five sword minibosses. It is recommended to take care of them first, as they may otherwise cause some trouble during the fight (keep in mind that they do respawn). Particularly the Water sword should be killed fast, as it can heal the boss. All of Robob's phases have CCI, but none of the swords have it.
First Form
The first phase is based on the Archer class. Robob shoots you from a distance, moves with Charge, pushes you away and occasionally casts Arrow Storm. His damage isn't too large, so this is most of the time the easiest phase of the battle.
Second Form
The second phase is based on Mage. Robob is still a ranged enemy, though he is more defensive in this phase, and will attempt to teleport near you and hit you with powerful Meteors. Sometimes he heals himself, though it is not too much of an issue as the healed amount of HP is quite small.
Third Form
The third phase is based on Assassin. This is a dangerous phase of the battle, as Robob can move stealthily using Vanish and Teleport, coming near the player from any direction, and hitting them with powerful melee hits and Multihits. It is advised to watch his movements carefully.
Fourth Form
The fourth and final form is based on Warrior. It mostly attacks with powerful Heavy Charges, which Robob uses to dash around the arena. This phase has a fair amount of health, 500 000, with the combination of high damage.
Sometimes, during the final phase, Robob can unleash his "ultimate" spell combo. It is a long combination of various spells, which combines the power of all the previous phases into one. The combo begins with Robob flying around the arena with Charges, casting Arrow Storm. The entire combo involves Teleporting, casting Meteors, Vanishing, spamming Multihit and more. It finishes with Robob gaining an explosive aura around himself by spamming Explosion. One should especially watch out for this attack, as Robob can deal very high DPS from close range with the Explosion aura.
| Image | Name | Level | Health | AI Type | Abilities | Elemental Stats | Drops | Location |
|---|---|---|---|---|---|---|---|---|
| File:Robob'sReinvention(Phase1) | Robob's Reinvention (Phase 1) |
160 | 200000 | Ranged | Heavy Charge Pull Arrow Storm |
✹❋✽✤✦ Def | Robob's Reinvention (Phase 2) |
Legendary Island |
| File:Robob'sReinvention(Phase2) | Robob's Reinvention (Phase 2) |
160 | 300000 | Ranged | Heavy Teleport Meteor Heal Pull |
✹❋✽✤✦ Def | Robob's Reinvention (Phase 3) |
Robob's Reinvention (Phase 1) |
| File:Robob'sReinvention(Phase3) | Robob's Reinvention (Phase 3) |
160 | 400000 | Melee | Multihit Heavy Charge Heavy Teleport Vanish |
✹❋✽✤✦ Def | Robob's Reinvention (Phase 4) |
Robob's Reinvention (Phase 2) |
| File:Robob'sReinvention(Phase4) | Robob's Reinvention (Phase 4) |
160 | 500000 | Melee | Heavy Charge Push Arrow Storm Teleport Meteor Vanish Multihit Pull Explosion |
✹❋✽✤✦ Def | Robob's Reinvention (Phase 3) | |
|
Robob Fire Sword | 120 | 100000 | Melee | Flamethrower | ✹ Dam ✹ Def ✽ Weak |
- | Legendary Island |
|
Robob Air Sword | 120 | 80000 | Melee | Multihit | ❋ Dam ❋ Def ✹ Weak |
- | Legendary Island |
|
Robob Water Sword | 120 | 50000 | Ranged | Heal | ✽ Dam ✽ Def ✦ Weak |
- | Legendary Island |
|
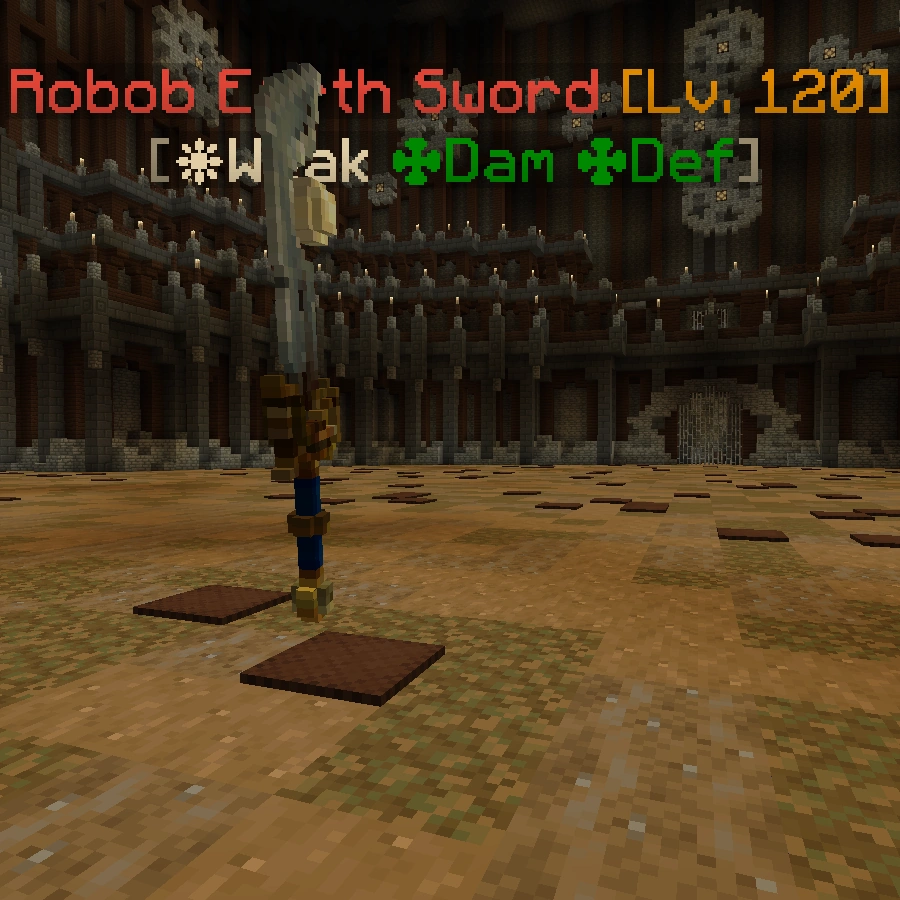
Robob Earth Sword | 120 | 65000 | Melee | Heavy Slowness | ✤ Dam ✤ Def ❋ Weak |
- | Legendary Island |
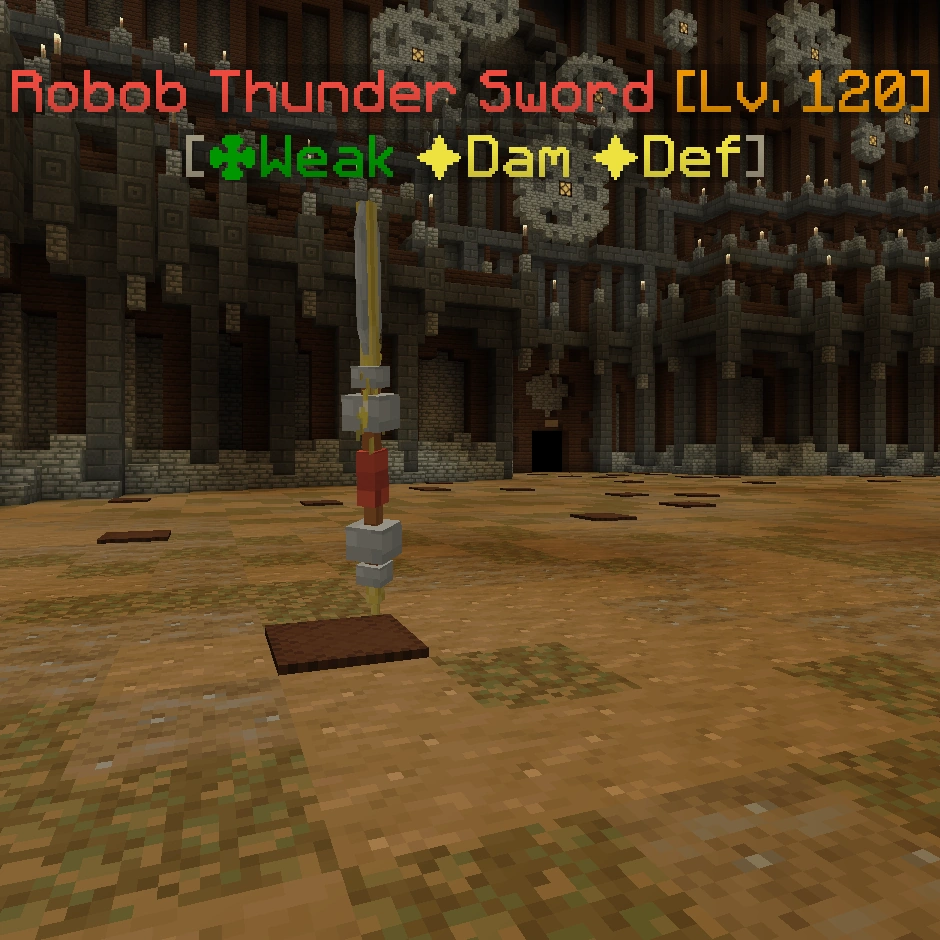
|
Robob Thunder Sword | 120 | 25000 | Melee | Pull Self-Destruct |
✦ Dam ✦ Def ✤ Weak |
- | Legendary Island |
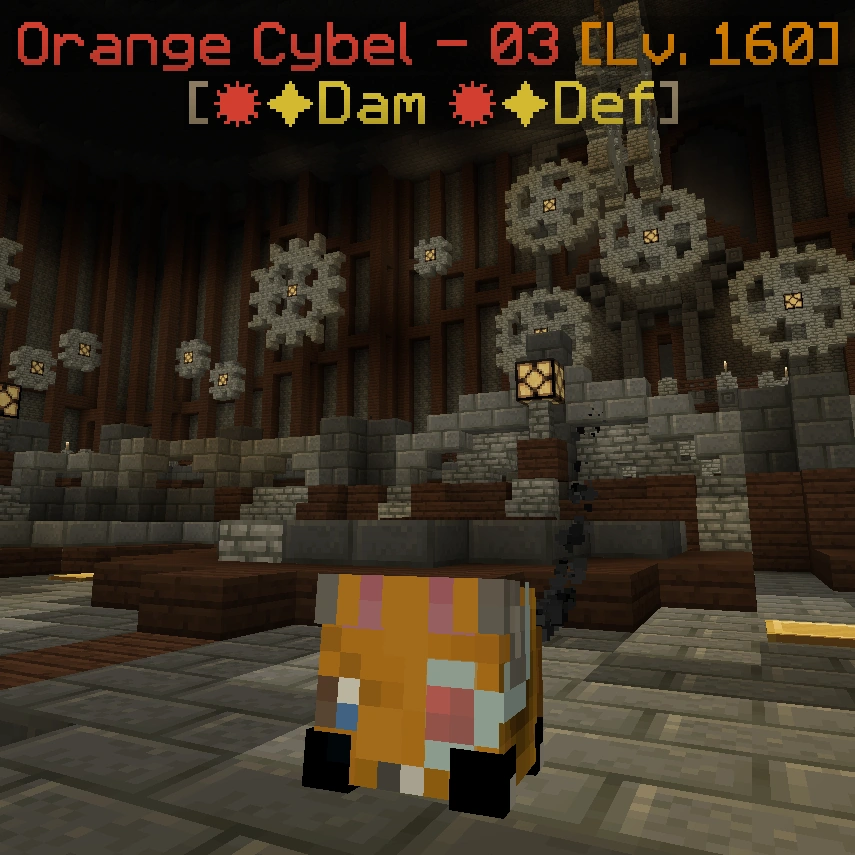
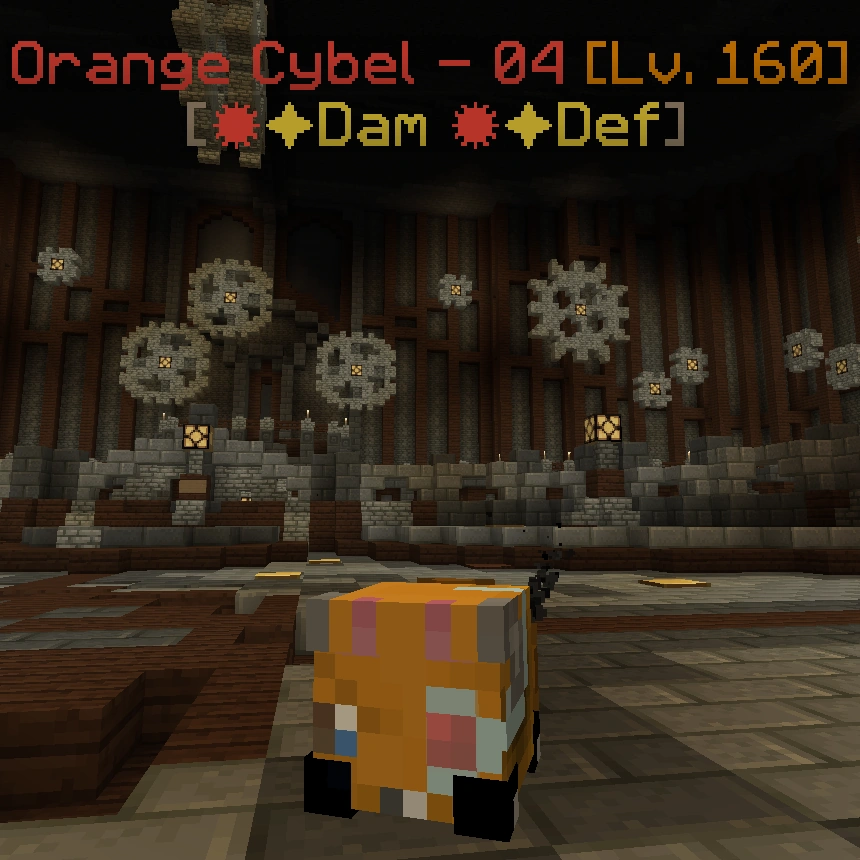
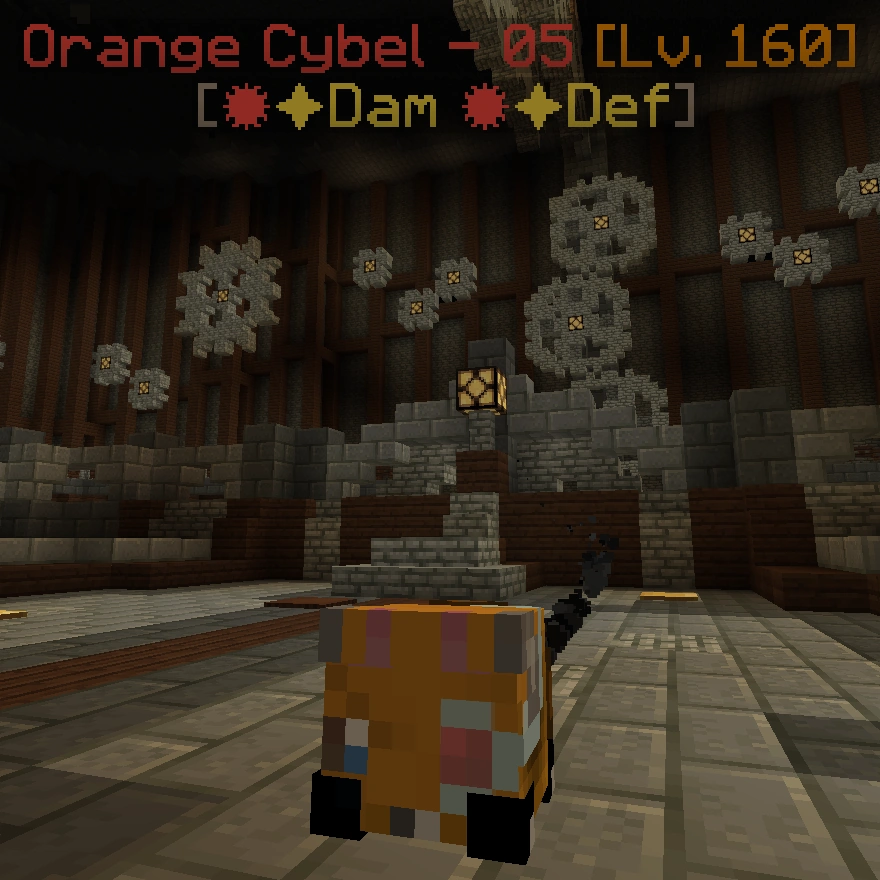
Orange Cybel[]
| Orange Cybel | |
| |
| Species | Wybel (Part Robot/ Cybel) |
|---|---|
| Level | 160 |
| Health | 1,000,000 (Excluding phases 2 and 4) |
| AI Type | Melee |
| Elemental Properties | |
| Damage | ??? |
| Location | |
| Location | Legendary Island |
| Drops | |
| Legendary Challenge Token | |
The Orange Cybel is the third and final challenger of the Gold tier, and is based off of The Orange Wybel boss altar. This boss is definitely one of the hardest. Though the health of every enemy is mechanically identical (along with the arena), the damage of the Orange Cybel and the Remote Controlled Cybels (equivalent of Rowdy Wybels) is increased significantly.
| Image | Name | Level | Health | AI Type | Abilities | Elemental Stats | Drops | Location |
|---|---|---|---|---|---|---|---|---|
|
|
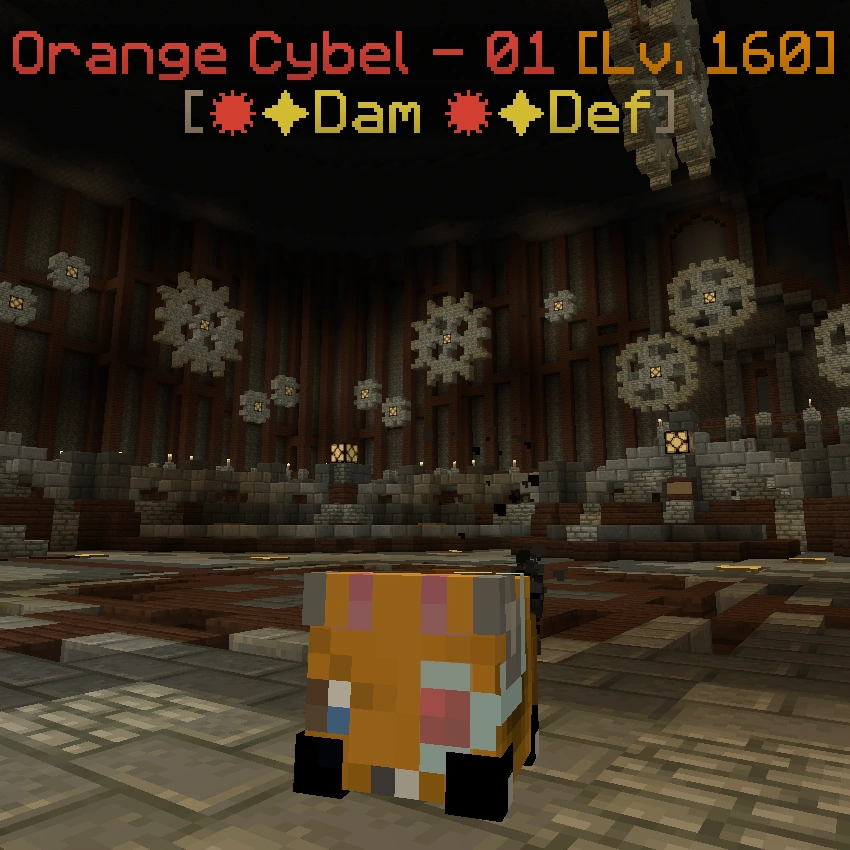
Orange Cybel (Phase 1) |
160 | 250000 | Melee | Charge Meteor |
✹✦ Dam ✹✦ Def |
Orange Cybel (Phase 2) |
Legendary Island |
|
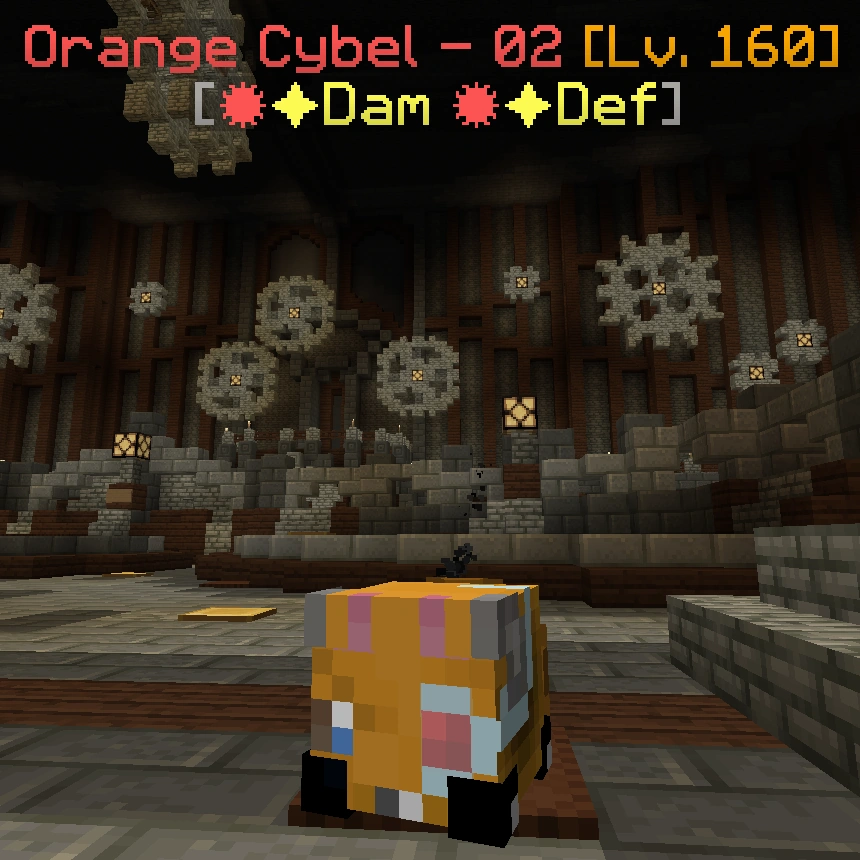
Orange Cybel (Phase 2) |
160 | 5000000 | Melee | Meteor Self-Destruct |
✹✦ Dam ✹✦ Def |
Orange Cybel (Phase 3) |
Orange Cybel (Phase 1) |
|
Orange Cybel (Phase 3) |
160 | 250000 | Melee | Charge Meteor |
✹✦ Dam ✹✦ Def |
Orange Cybel (Phase 4) |
Orange Cybel (Phase 2) |
|
Orange Cybel (Phase 4) |
160 | 5000000 | Melee | Meteor Push Self-Destruct |
✹✦ Dam ✹✦ Def |
Orange Cybel (Phase 5) |
Orange Cybel (Phase 3) |
|
Orange Cybel (Phase 5) |
160 | 500000 | Melee | Charge Meteor Push |
✹✦ Dam ✹✦ Def |
Orange Cybel (Phase 4) | |

|
Disintegrator | 110 | 20000 | Melee | Flamethrower | ✹✦ Dam | Disintegrator Core | Legendary Island |

|
Disintegrator Core | 110 | 500000 (Invulverable) |
Melee | Explode Flamethrower Self-Detsruct |
✹✦ Dam | - | Disintegrator |
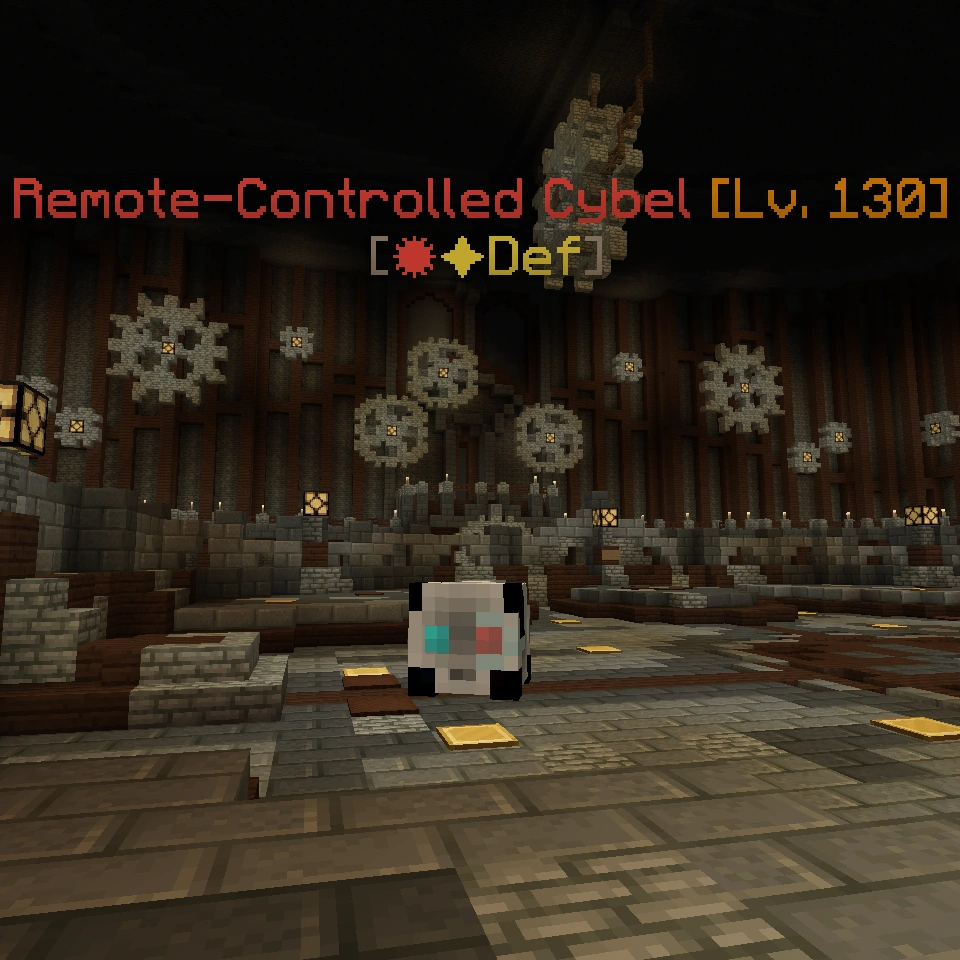
|
Remote-Controlled Cybel | 130 | 18000 | Melee | Heal | ✹✦ Def | - | Legendary Island |
Doctor Legendary[]
| Doctor Legendary | |

| |
| Species | Human |
|---|---|
| Level | 170 |
| Health | 1,400,000 |
| AI Type | Ranged |
| Elemental Properties | |
| Damage | ??? |
| Location | |
| Location | Legendary Island |
| Drops | |
| Legendary Challenge Token | |
Doctor Legendary is the only challenger of the Diamond tier. This is the only boss that isn't based off of a previous one. Dr. Legendary is amazed by your combat skills and decides to test his so-called best mech in the world on you. The boss has three forms, one being melee, and two being ranged. Try to keep your distance from the TNT, as they may deal heavy damage to you. With some skill potions and good weapons/teammates, the boss shouldn't be too much of a threat.
| Image | Name | Level | Health | AI Type | Abilities | Elemental Stats | Drops | Location |
|---|---|---|---|---|---|---|---|---|
|
|
Doctor Legendary (Phase 1) |
170 | 400000 | Ranged | Flamethrower Teleport Charge Push |
✹✦ Dam ✹✽✤ Def ✦ Weak |
Doctor Legendary (Phase 2) |
Legendary Island |

|
Doctor Legendary (Phase 2) |
170 | 400000 | Melee | Multihit Charge Teleport Push |
✽✦ Dam ✽✤✦ Def ❋ Weak |
Doctor Legendary (Phase 2) |
Doctor Legendary (Phase 1) |

|
Doctor Legendary (Phase 3) |
170 | 600000 | Ranged | Teleport Push |
✹❋✦ Dam ✹✦ Def ✤ Weak |
Doctor Legendary (Phase 2) | |
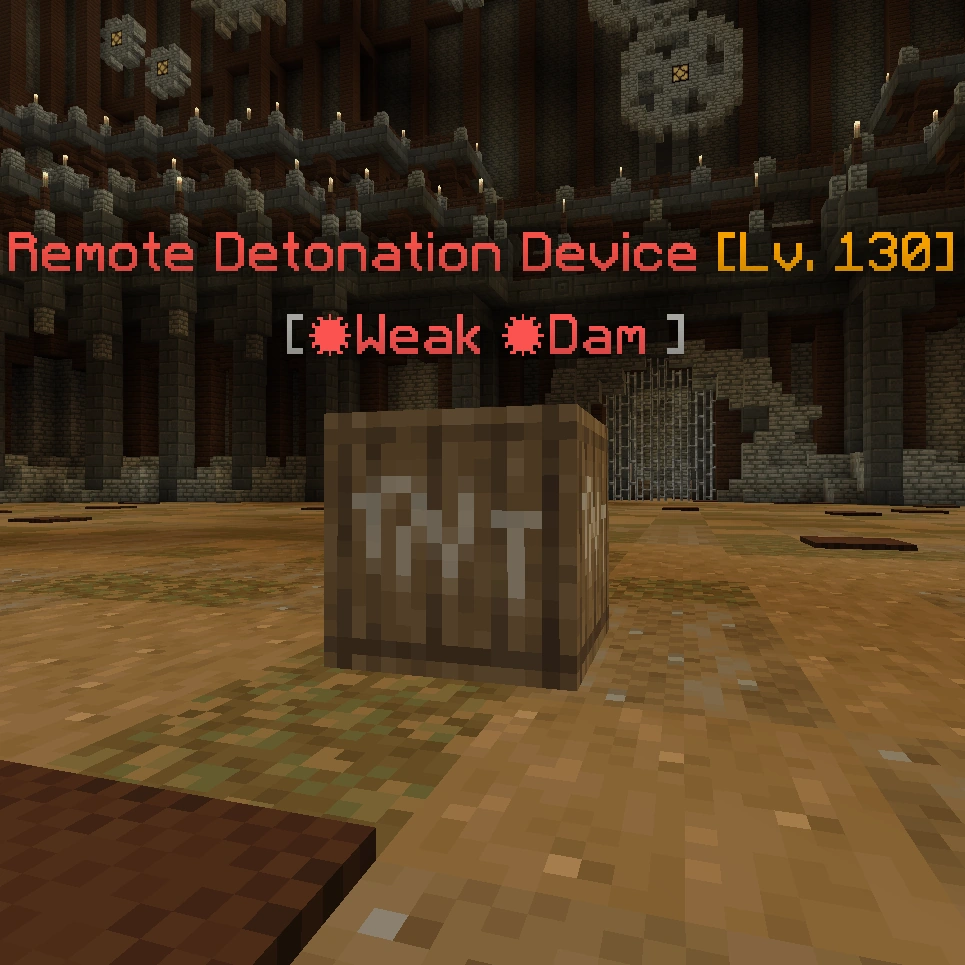
|
Remote Detonation Device | 130 | 25000 | Melee | Self-Destruct | ✹ Dam ✹ Def |
- | Legendary Island |
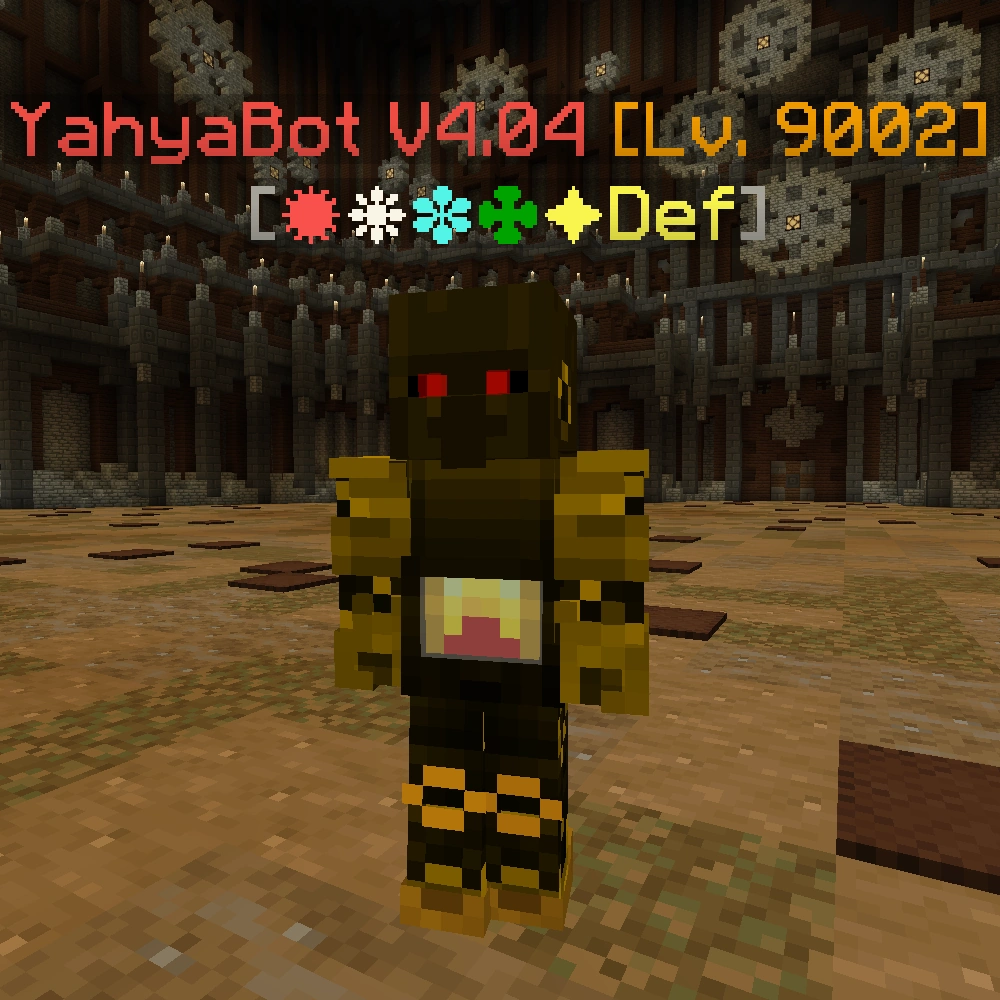
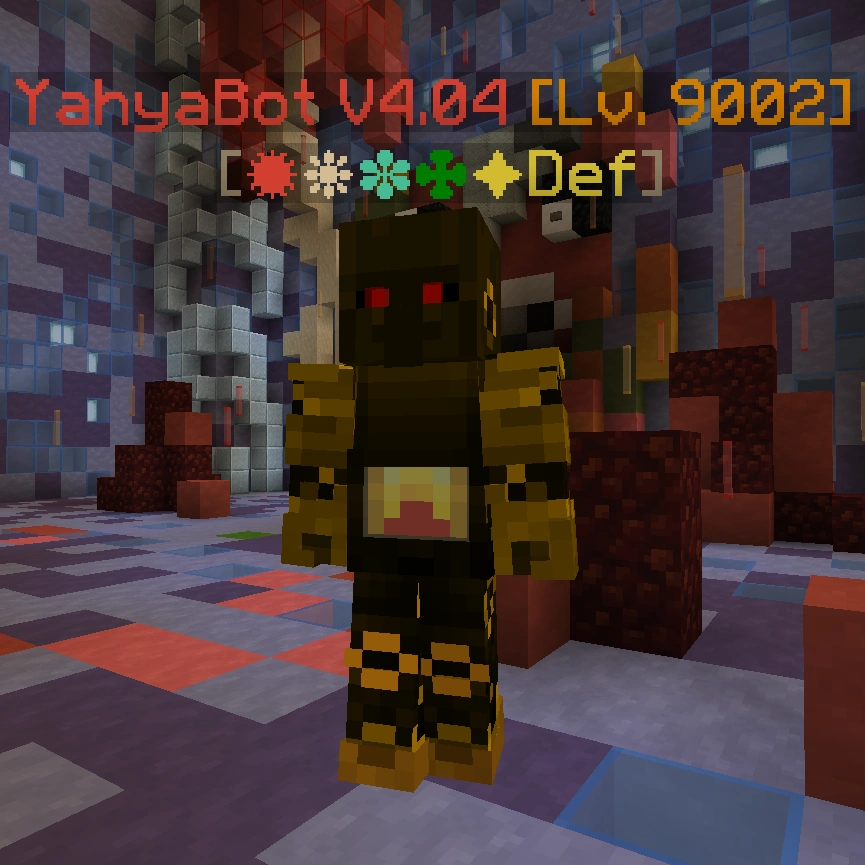
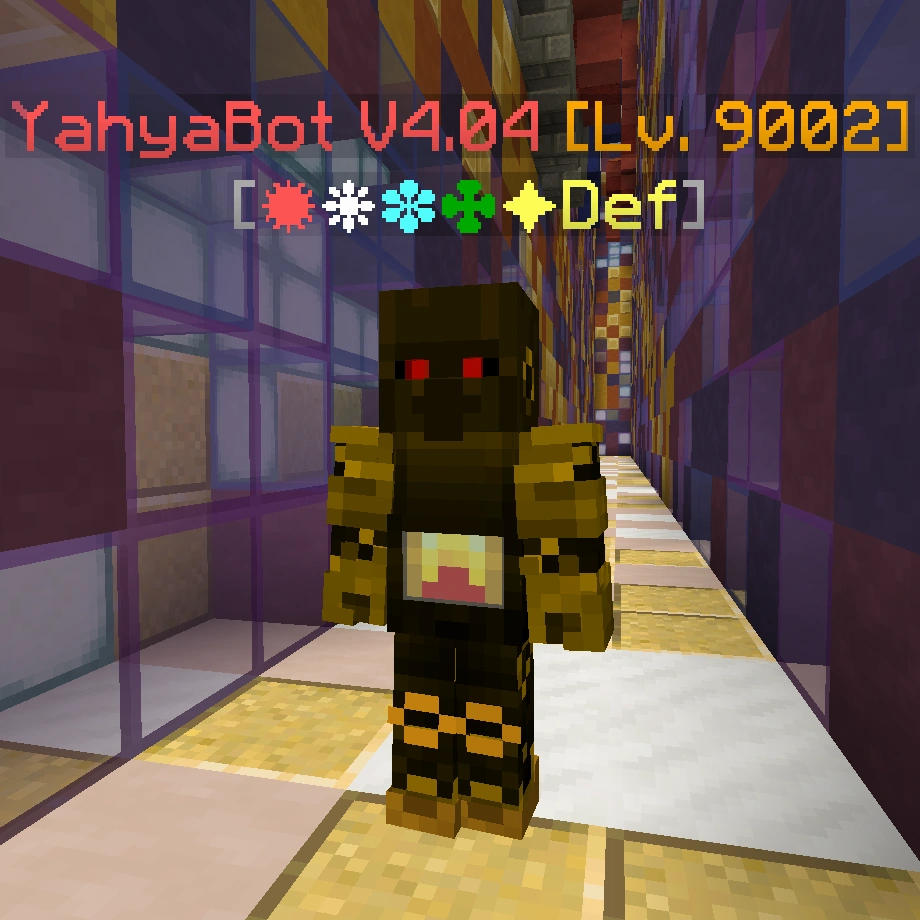
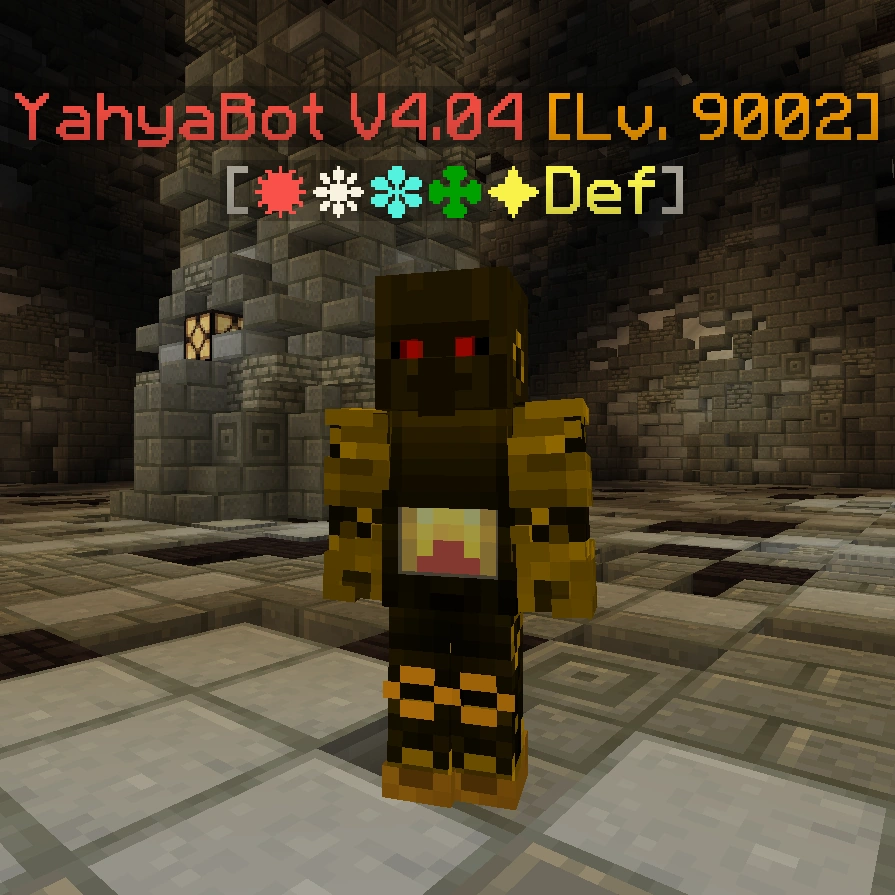
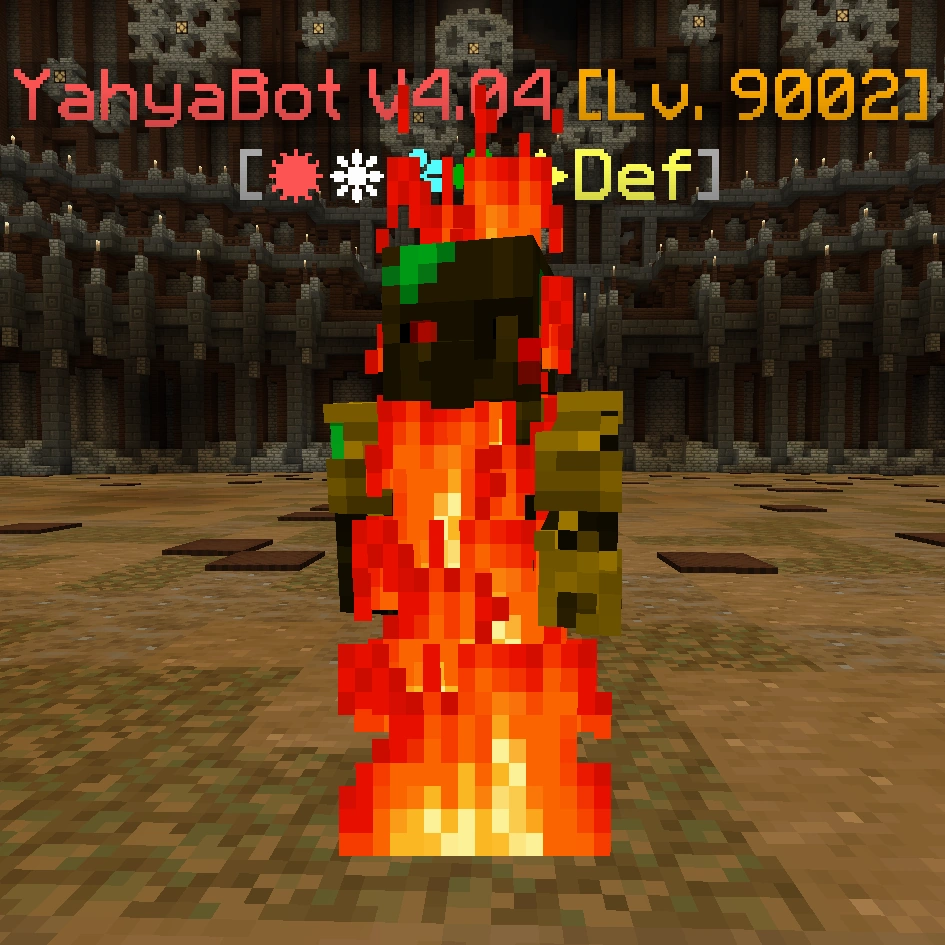
YahyaBot V4.04[]
| YahyaBot V4.04 | |
| |
| Species | Robot |
|---|---|
| Level | 9002 |
| Health | 25,000 (only counting the final phase, ) |
| AI Type | Melee |
| Elemental Properties | |
| Damage | ??? |
| Location | |
| Location | Legendary Island |
| Drops | |
| Mechanical Heart | |
YahyaBot V4.04 is a hidden boss in Legendary Island based on Yahya - the Final Form in the Lvl. 70 quest, Shattered Minds. It is accessed by beating the Legendary Challenge at least once. After you have done that, go behind the main structure of the island, and parkour up to a vent. Once you get to the vent, there will be particles coming off of it. Left-click them to destroy them, and once you have, you'll enter an overgrown arena, and in the middle will be the discarded challenger, YahyaBot V4.04.
Despite the challenger being a hidden boss, it is undoubtedly the easiest challenger of them all. It may seem like it's impossible, due to complete resistance in all elements, but after some time YahyaBot starts releasing spores, causing you to warp to a different area. You must go through a total of five separate rooms, not counting the main battle arena, until you are teleported back to the arena to finish YahyaBot off. The battle lasts for around 6 minutes in total. None of the phases have CCI.
Room One
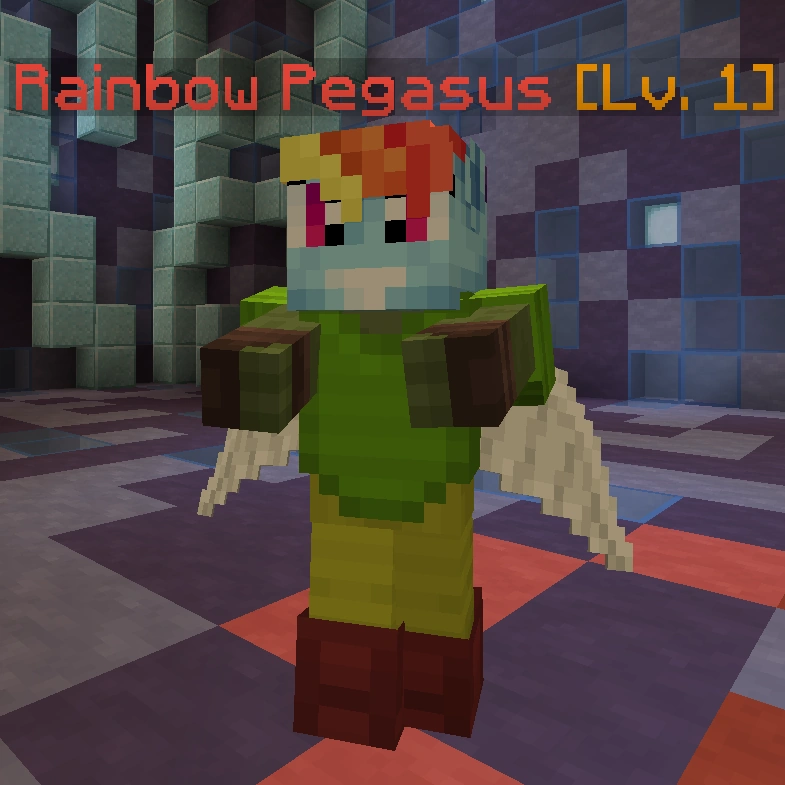
YahyaBot deals little damage. Weak Noobs, Fluffy Kittens, and Rainbow Pegasi plague the area. There is a safe spot above a large Mooshroom head.
Room Two
YahyaBot pursues you down a long tunnel. He deals heavy damage but is easily fended off with movement spells.
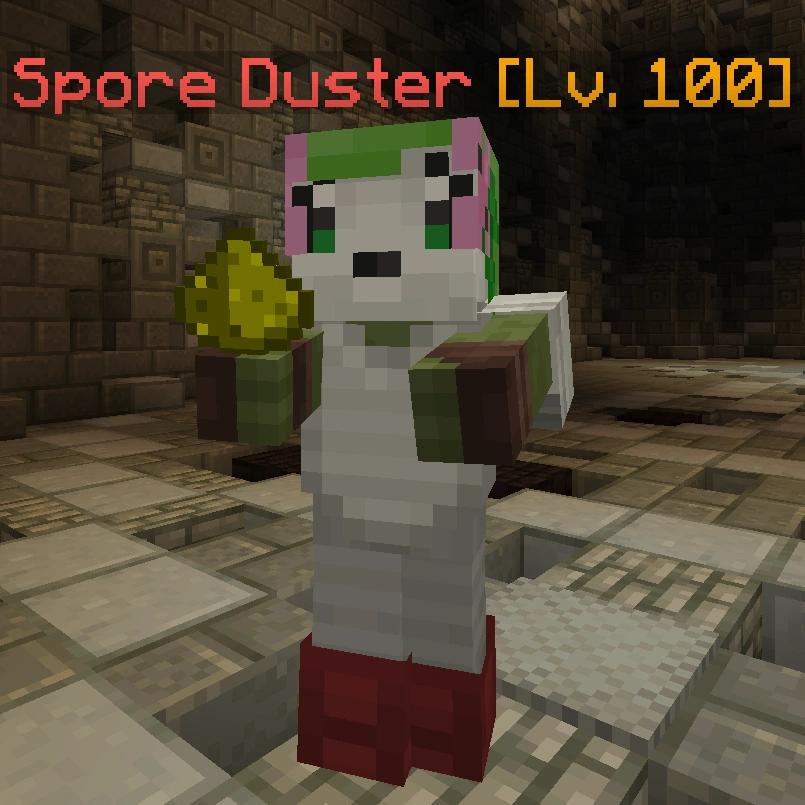
Room Three
You're transported into a room with four pillars. Spore Dusters, Angry Mushrooms, and Mushroom Cows will fire spread projectiles at you, as well as YahyaBot.
Room Four
A dark swamp with a sticky floor welcomes you. You are unable to surface, and Swamp Nightmares, as well as Carnivorous Leeches, will hunt you down. YahyaBot and the two aforementioned enemies will deal moderate damage.
Room Five
You'll end up on a meteor with Jump Boost. Void Masters and Meteor Sentients patrol the vicinity and deal high damage. You won't be able to fall off; barriers line the perimeter. After your Jump Boost runs out, you will end up in Room 6.
Room Six
YahyaBot will run out of power and mushroom reserves. He lies in the center of the arena in extreme disrepair. He only has 25,000 HP, and it is easy to finish him off. He will drop the Mechanical Heart upon defeat.
| Image | Name | Level | Health | AI Type | Abilities | Elemental Stats | Drops | Location |
|---|---|---|---|---|---|---|---|---|
|
|
YahyaBot V4.04 (Phase 1) |
9002 | 1000000 | Melee | - | ✹❋✽✤✦ Def | - | Legendary Island |
|
YahyaBot V4.04 (Phase 2) |
9002 | 1000000 | Melee | - | ✹❋✽✤✦ Def | - | Legendary Island |

|
Running Cake | 1 | 6 | - | - | - | - | Legendary Island |

|
Noob | 1 | 6 | Melee | - | - | - | Legendary Island |

|
Sweet Kitty | 1 | 6 | Melee | - | - | - | Legendary Island |
|
Rainbow Pegasus | 1 | 100 | Melee | - | - | - | Legendary Island |
|
YahyaBot V4.04 (Phase 3) |
9002 | 1000000 | Melee | Pull | ✹❋✽✤✦ Def | - | Legendary Island |
|
YahyaBot V4.04 (Phase 4) |
9002 | 1000000 | Melee | Arrow Storm | ✹❋✽✤✦ Def | - | Legendary Island |

|
Angry Mushroom | 100 | 9000 | Ranged | - | - | - | Legendary Island |

|
Puffshroom | 100 | 9000 | Ranged | - | - | - | Legendary Island |

|
Spore-spitting Cow | 100 | 9000 | Ranged | - | - | - | Legendary Island |
|
Spore Duster | 100 | 9000 | Ranged | Charge | - | - | Legendary Island |

|
YahyaBot V4.04 (Phase 5) |
9002 | 1000000 | Melee | Teleport Slowness II |
✹❋✽✤✦ Def | - | Legendary Island |

|
Carnivorous Leech | 100 | 40000 | Melee | Heavy Weakness | ✤✦ Def ✹ Weak |
- | Legendary Island |

|
Swamp Nightmare | 100 | 55000 | Melee | Charge | ✽✤ Def ❋ Weak |
- | Legendary Island |

|
YahyaBot V4.04 (Phase 6) |
9002 | 1000000 | Melee | Heavy Charge | ✹❋✽✤✦ Def | - | Legendary Island |

|
Meteor Sentient | 100 | 6500 | Melee | - | ✹❋✽✤✦ Dam | - | Legendary Island |

|
Void Master | 100 | 6500 | Melee | Teleport | ✦ Dam ✦ Def |
- | Legendary Island |
|
YahyaBot V4.04 (Phase 7) |
9002 | 25000 | Melee | Self-Destruct | ✹❋✽✤✦ Def | Legendary Island |
Trivia[]
- The fifth room you visit during battle with YahyaBot is reference to the blue meteor in ??? which is the one Yahya studied.
- The Titanium R.A.T. R-4X replaced YahyaBot V4.04 in the Legendary Challenge in the 2.0 update, particularly due to how the fight was based on a timer and how it was not as engaging compared to the other fights. As a result of this, YahyaBot got moved to be a hidden boss on Legendary Island.
- The Titanium R.A.T. is the only boss in the Legendary Challenge to have scripted spells.
- The Titanium R.A.T. is the only boss in the Legendary Challenge to not use the regular music for the Legendary Challenge, Legendary Rumble!, for their fight, and instead uses the Colossal Rat's theme, Remix Energetic Encounter.
- Despite their placement as the first boss of Legendary Island, Wynncraft owner Salted seems to have trouble with The Mummyboard as shown during the 2.0 reveal live stream.
- The Noob may be a reference to the Roblox Noob.